

Are you ready for another TGIF Challenge. This week is all about SALE-A-BRATION!


I also love the beautiful bold floral images; they are super detailed and easily make any project gorgeous. For this card I fussy cut out some of the purple flowers and layered them over the geometric pattern in the same purple color. Then added the soft Petal Pink geometric pattern to the back to lighted up the card.
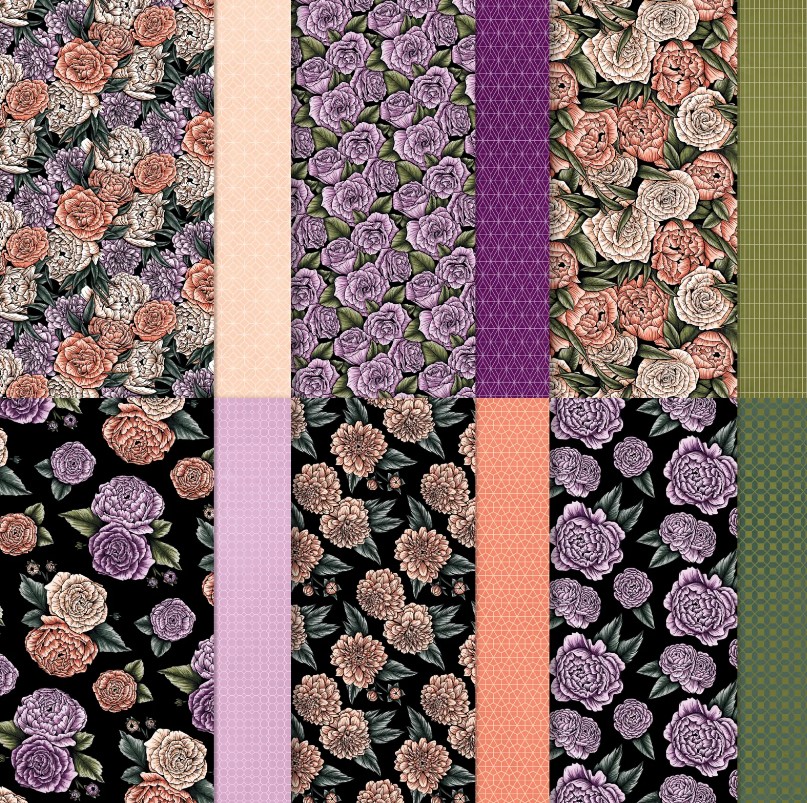
If you don’t have this paper, you should get it. It is free now until Feb 28 with any $50 order from Stampin’ Up! – Shop from my online store - https://www.stampinup.com?demoid=2042902

Don’t miss out on being inspired by the other designers – head over to TGIF Challenges Blog - https://tgifchallenges.blogspot.com/2023/02/tgifc408-sale-bration-challenge.html
This was such a fun card to create. I hope you play along
with this week’s TGIF Challenge and share your creation on the blog. To
participate upload it to the TGIF blog post using the Linky Tool at the bottom.
See the guidelines on the TGIF post.
 Designer Series Paper")
")


")

 Open Weave Ribbon")
 Open Weave Ribbon")


2- Layer the flowers on a coordinating piece of DSP (2 ½” x
4 ½”) with dimensionals. Leave an area open for your greeting.
3- Add any coordinating strips of paper you want to the
rectangle. I used a Fresh Freesia DSP strip (½” x 4 ½”).
4- Add a simple pattern paper from the pack to the front of
the cardbase. I used a piece that was 4 1/8” x 5 3/8” on a Basic Black
Cardbase.

6- Stamp your greeting on coordinating cardstock. I used
Basic Black Cardstock and White Embossing Powder. Cut it out with a circle from
the Layering Circle Dies.
7- On the back of the greeting add some ribbon in a faux
bow. I used both the Fresh Freesia & Evening Evergreen Ribbons cut to 12”.
Then cut them the long way to make them skinnier and wrapped them back and
forth together on the back of the circle. Add the greeting to the open area
with dimensionals.
8- Add any embellishments. I used three Fresh Freesia Gems
from the Opaque Adhesive-Backed Gems.
All Done!
To purchase any Stampin’ Up! products please visit
https://www.stampinup.com?demoid=2042902
Have a creative day!
Chelsey
No comments:
Post a Comment