Friday, July 23, 2021

Handmade Card Making & Paper Crafting Trends - Global Stampin' Video Hop July 2021 - Stampin' Up!

Today is another tutorial for the Global Stampin’ Video Hop on YouTube. Each month on the fourth Friday other Stampin’ Up Demonstrators from around the world come together and share their projects based on a monthly theme. July’s Theme is Card Making Trends.


Did you know that many paper crafting trends come from home décor or fashion trends? It just takes a couple years to move from one area to another. So, if you want to be a trend setter, take a look at what is trending in other areas and most likely it will also show up in paper crafting. When thinking about my favorite things that are trending I gravitated to four different things. 1- blending, 2- warm color palette, 3- texture, & 4- house plants (love them!). I have used all 4 trends on the card I am sharing with you today. I hope this card inspires you to create something fun with one or more of your favorite trends.


Make sure to check out what everyone makes for this monthly Video Hop. You can start with my video, I have linked it below. You can find the next video at the top of the video’s description on YouTube. Have fun!


See my Customer Appreciation Products for this month: http://creativechelsey.blogspot.com/p/shop-stampin-up-products.html

Follow me on Instagram https://www.instagram.com/creativechelsey

Or join my Facebook group https://www.facebook.com/groups/2221750878097906


To purchase any of the products you need to create this project visit https://www.stampinup.com?demoid=2042902

Here are the dimensions and pieces you will need to create this card:

Thick Basic White Cardstock – cardbase 5 ½” x 8 ½” scored at 4 ¼”

Basic White Cardstock – 4 ¼” x 5 ½” blending | 4 ¼” x 5 ½” stamping | 2” x 3” greeting

Bloom Where You’re Planted Designer Series Paper – 3 ¾” x 5”

White Bakers Twine – 24”


The products I used are:

Plentiful Plants Bundle 155688 $47.50

     Includes: Plentiful Plates Stamp Set 155693 $21.00 & Perfect Plates Dies 155562 $32.00

Bloom Where You’re Planted Designer Series Paper 155696 $11.50

Ornate Frames Dies 150664 $34.00

Thick Basic White Cardstock 159229 $8.25

Basic White Cardstock 159276 $9.75

Cinnamon Cider Ink Pad 153114 $7.50

Cajun Craze Ink Pad 147085 $7.50

Evening Evergreen Ink Pad 155576 $7.50

Garden Green Ink Pad 147089 $7.50

Pear Pizzaz Ink Pad 147104 $7.50

Soft Succulent Ink Pad 155778 $7.50

Smoky Slate Ink Pad 147113 $7.50

Shimmery White Embossing Paste 145645 $9.00

Palette Knives 142808 $5.00

Blending Brushes 153611 $12.00

Baker’s Twine Essentials Pack – White 155475 $11.00

Paper Lattice 155697 $6.00

Elegant Faceted Gems 152464 $7.50

Paper Trimmer 152392 $25.00

Clear Block D 118485 $8.50

Simply Shammy 147042 $8.00

Stampin’ Seal Adhesive 152813 $8.00

Dimensionals 104430 $4.00

Paper Snips 103579 $10.00

Bone Folder 102300 $7.00

Take Your Pick Tool 144107 $10.00

Stampin’ Cut & Emboss Machine 149653 $120.00


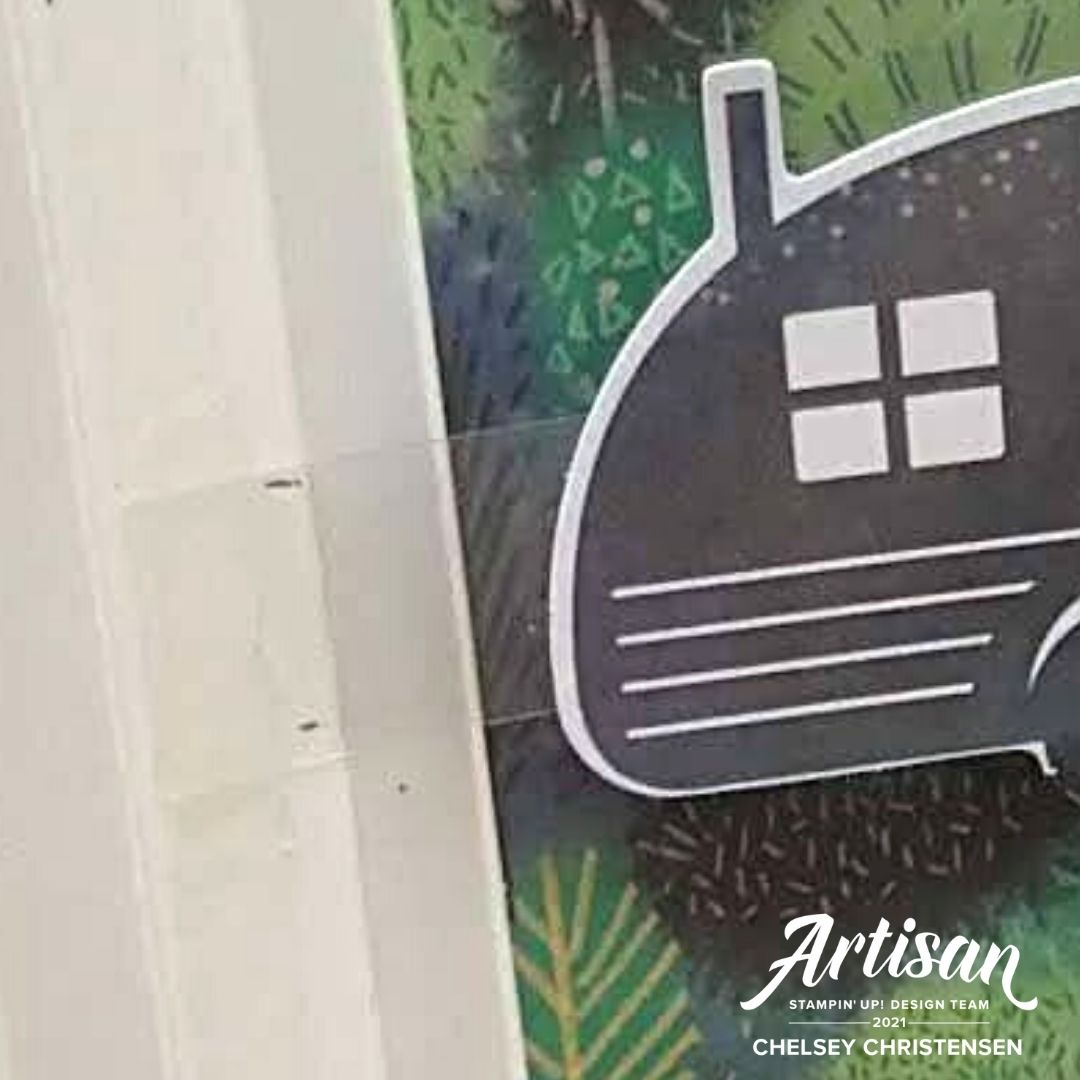
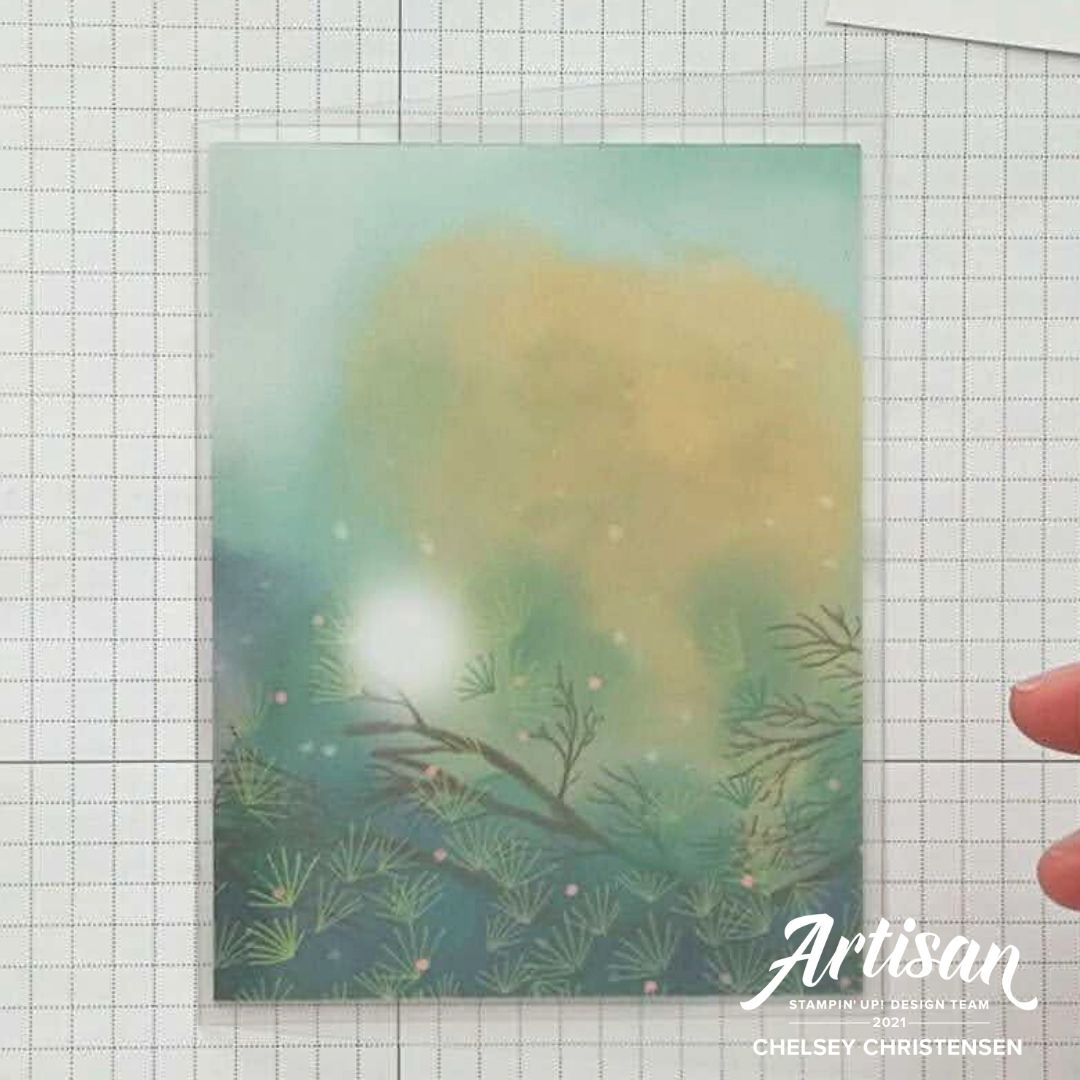
1- On 4 ¼” x 5 ½” Basic White Cardstock create an angled blended background using a blending brush and Cinnamon Cider & Cajun Craze. Blend so them meet together from the bottom left corner to the top right corner.


2- Add one Paper Lattice in the center and spread Shimmery White Embossing Paste with a Palette Knife. Spread over as much of the lattice as you want, then remove the lattice as soon as you finish so it doesn’t stick. Then clean the palette knife with soap and water. Let dry.


3- Once the embossing paste has dried trim ¼” from each side of the cardstock. Then stamp enough plants and planters to create three house plants. One large, medium, & small. Add them to the bottom right corner. Here are the combinations I used:


Large: Large Pot – Smoky Slate, Large Plant in Garden Green layered behind a Pear Pizzazz plant. Add with glue dots.

Medium: Large Pot – Cajun Craze, “V” Shape Plant in Evening Evergreen in front of the same plant in Garden Green cut in half and added at different angles. Add with dimensionals.

Small: Small Pot – Cinnamon Cider, Snake Plate – Soft Succulent Add with dimensionals.


4- Wrap 24” of White Bakers Twine around the bottom twice and tie a bow in front of the Cajun Craze pot.


5- Stamp your greeting in Evening Evergreen. Cut out with a label die from the Ornate Labels. Use the small stylus from the Take Your Pick Tool and emboss the edges of the label. Add over the bow and below the House Plants with dimensionals.


6- Add your choice of pattern from the Bloom Where You’re Planted DSP to the front of the cardbase. Then add the main piece to the center. Add some Champagne Color Elegant Faceted Gems.

All Done! 


Here is the link to my Global Stampin’ Video https://youtu.be/-qYph8RjBFI - Make sure to check out everyone’s projects.


To purchase any of the products you see in this video visit https://www.stampinup.com?demoid=2042902

Have a creative day!

Chelsey

chelsey@creativechelsey.com


Thursday, July 22, 2021

Shadow Box Alternative Card Idea for July 2021 Paper Pumpkin Kit from Stampin' Up - Subscription Box


Welcome to Paper Pumpkin Week here at Creative Chelsey. Today is my third alternative card idea using the July 2021 Paper Pumpkin Kit – The Adventure Begins. This Shadow Box Handmade Card is a fun twist on the Peekaboo Window Trifold Cards that came in the kit. I love how the movement from the campers and trees on the inside really add something fun to this card.


I love creating alternative cards with Paper Pumpkin Kits so make sure to come back for more as I continue to create with this month’s kit. I would love to see your finished creations that are inspired by this tutorial! You can tag me in any social media post using @creativechelsey | #creativechelsey or email me at chelsey@creativechelsey.com


It is Paper Pumpkin Week here on Creative Chelsey. This is my third tutorial this week. If you would like to see all my alternatives check out the playlist here:

https://youtube.com/playlist?list=PL40dV1oxpkNn5vdApR03XumTDzcyC0gc2

Watch me UNBOX this month’s Paper Pumpkin Kit here: https://youtu.be/M3_VlerdWxM


Don't miss out on next months Paper Pumpkin Kit - subscribe today!
SUBSCRIBE to Paper Pumpkin - click here –

See my Customer Appreciation Products for this month: http://creativechelsey.blogspot.com/p/shop-stampin-up-products.html

Follow me on Instagram https://www.instagram.com/creativechelsey/

Or join my Facebook group https://www.facebook.com/groups/2221750878097906

To purchase any of the products you need to create this project visit https://www.stampinup.com?demoid=2042902


Here are the dimensions and pieces you will need to create these cards:

From the Kit:

Camper Cardbase

Large Tree Die Cut

Small Tree Label

Extra Cardstock:

Basic White Cardstock – Cardbase 5 ½” x 9 ¼”

White Cardstock for stamping or you can use the white back panel from the cardbase.

Window Sheet – ¾” x 3 ½” | ¾” x 2 ¼”


Here is a list of the supplies I used to make the cards:

Basic White Cardstock 159276 $9.75

Window Sheets 142314 $5.00

Garden Green Ink Pad 147089 $7.50

Granny Apple Green Ink Pad 147095 $7.50

Baker’s Twine Essentials Pack 155475 $11.00

Paper Trimmer 152392 $25.00

Simply Shammy 147042 $8.00

Stampin’ Seal Adhesive 152813 $8.00

Multipurpose Liquid Glue 110755 $4.00

Tear & Tape Adhesive 138995 $7.00

Dimensionals 104430 $4.00

Clear Block D 118485 $8.50

Paper Snips 103579 $10.00

Bone Folder 102300 $7.00

Stampin' Pierce Mat 126199 $5.00

Take Your Pick Tool 144107 $10.00


1- Score 5 times in ½” intervals on each side of the 5 ½” x 9 ¼” cardbase. Start on ½”, then 1”, 1 ½”, 2”, & 2 ½”. Then flip the cardbase and repeat. You should also have a black space about 4 ¼” wide. Accordion Fold each section starting with #5 folding towards the front of the card, repeat on other side. 

See template.


Print Template Here:

 https://drive.google.com/file/d/1L4NgN0Uk_uvQSm-sOHZBFLfv4la_GUrt/view?usp=sharing


2- Remove the front Camper section of the cardbase at 4 ¼”. Remove the Plant pattern section of the cardbase along the fold line. Tip: Use a sharp blade and start your cut in the middle of the cardstock. Add the Plant pattern to the 4 ¼” blank section of the Shadow Box Cardbase.


3- Remove the Camper from the cardbase. I did cut around the tire to make a full circle and colored in the green area with a Black Watercolor Pencil. This is a personal preference. Attach it to the right side of the 3 ½” Window Sheet strip with glue dots.


4- Stamp the Line Detail image over the Large Tree Die cut in Garden Green Ink. Remove the Small Tree from the Label and stamp the Detail image on top in Garden Green Ink as well. Connect the two trees together with the smaller on the left and centered with the large tree. Add these to the left side of the 2 ¼” Window Sheet strip with glue dots.


5- Temporally place the Window Frame section over the Plant section and mark where you want the Camper and Trees to be placed in sections #2 (see template). I placed the Camper just slightly higher than the bottom of the window and the Trees at the top of the window. Remove the Window Frame section.


6- Add Tear & Tape Adhesive to all of section #2. Attach the Window Strips where you indicated. Add another piece of Tear & Tape over the Window Strip and close section #3 over #2. Repeat of the other side.


7- Add the Window Frame section to the front of the cardbase by adding Tear & Tape to section #5. Make sure it is on the top of the section when the sides are all folded together. Start with top right corner and slowly match the edge all the way down to the bottom right corner. Then try to fold both sides down and as you press the card closed attach the other side at the same time. This is a little tricky, but ensures that the card will fold flat. See video below for more details.


8- Add more trees and bushes to the front of the card. Stamp the Large Tree image in Garden Green and add the Detail in Garden Green as well. Fussy cut out. Add to the left of the cardbase and trim any overhang.


9- To create a Bush - Place the Small Scatter Lines image with the flat side out so your stamping a solid image. Ink in Garden Green and stamp two times to get two images, one dark & one light. Clean and repeat with Granny Apple Green ink. Clean and flip the stamp over and add the Scatter Lines inside each “bush” with full strength matching ink. Fussy Cut Out. Add these to the right of the tree, make sure one is covering the “dip” left from the tire.


10- Cut the rectangle from the Small Tree Label at ½” and stamp the greeting in Garden Green Ink. Add a faux bow with 8” of Black Twine to the back and adhere to the center of the card with dimensionals.

All Done!


I have also created a video walking you through each step:

To purchase any of the products you see in this video visit

https://www.stampinup.com?demoid=2042902

Have a creative day!

Chelsey

chelsey@creativechelsey.com

Wednesday, July 21, 2021

Fun Fold PULL TAB Handmade Card - July 2021 Paper Pumpkin Alternative Ideas - Stampin' Up


Welcome to Paper Pumpkin Week here at Creative Chelsey. For the next couple days, I will share a new alternative idea using the July 2021 Paper Pumpkin Kit – The Adventure Begins. The card I am sharing with you today uses the peekaboo window in a fun way. This handmade alternative card idea has a Pull Tab that reveals the message inside the circle window. There are some steps that may be a little tricky so make sure to check below for written instructions or how to simplify these steps.


I love creating alternative cards with Paper Pumpkin Kits so make sure to come back for more videos as I continue to create with this month’s kit. I would love to see your finished creations that are inspired by this tutorial! You can tag me in any social media post using @creativechelsey | #creativechelsey or email me at chelsey@creativechelsey.com


It is Paper Pumpkin Week here on Creative Chelsey. This is the second tutorial this week. If you would like to see all my alternatives check out the playlist here: https://youtube.com/playlist?list=PL40dV1oxpkNn5vdApR03XumTDzcyC0gc2

Watch me UNBOX this month’s Paper Pumpkin Kit here: https://youtu.be/M3_VlerdWxM


Don't miss out on next months Paper Pumpkin Kit - subscribe today!
SUBSCRIBE to Paper Pumpkin - click here –

See my Customer Appreciation Products for this month: http://creativechelsey.blogspot.com/p/shop-stampin-up-products.html

Follow me on Instagram https://www.instagram.com/creativechelsey/

Or join my Facebook group https://www.facebook.com/groups/2221750878097906

To purchase any of the products you need to create this project visit https://www.stampinup.com?demoid=2042902

Here are the dimensions and pieces you will need to create these cards:

From the Kit:

Circle Landscape Cardbase

½ Banner Label – 2nd piece from alternative card #1

Sequins

Extra Cardstock:

Basic White Cardstock – scraps

Basic Black Cardstock - scraps


Here is a list of the supplies I used to make the cards:

Basic White Cardstock 159276 $9.75

Basic Black Cardstock 121045 $8.75

Label Me Fancy Punch 151297 $18.00

Give It A Whirl Dies 154336 $39.00

Foam Adhesive Strips 141825 $8.00

Adhesive Sheets 152334 $10.00

Garden Green Ink Pad 147089 $7.50

Baker’s Twine Essentials Pack 155475 $11.00

Paper Trimmer 152392 $25.00

Simply Shammy 147042 $8.00

Stampin’ Seal Adhesive 152813 $8.00

Multipurpose Liquid Glue 110755 $4.00

Tear & Tape Adhesive 138995 $7.00

Dimensionals 104430 $4.00

Clear Block D 118485 $8.50

Paper Snips 103579 $10.00

Bone Folder 102300 $7.00

Stampin' Pierce Mat 126199 $5.00

Take Your Pick Tool 144107 $10.00


1- Remove the landscape inside flap from the cardbase. Cut along the folded line. TIP – use a sharp blade and start in the center of the cardstock, then cut to each edge.


2- Adhere Foam Adhesive Strips to the left & right edges on the back of the circle side of the cardbase. Make sure they are close to the edge. Leave a small gap about ½” from the top. Add a small piece at the bottom to keep the inside panel from falling out.


3- Measure the width of the circle, it should be about 3 ¾”. On the landscape panel remove about ¼” from each side stopping ½” from the bottom, you are creating an upside-down T shape. Remove the trimmed strip with a pair of Paper Snips. The width at the top of this panel should be 3 ¾” and should cover the whole circle.

SIMPLIFY – To make this easier; measure the space between the Foam Strips, then cut the whole landscape panel to slide in and out of this space with no stopper. This would mean this panel could be fully removed. Skip step 4 & 5


4- Measure the widest space between your Foam Strips. Mine was 3 7/8”. This is the size you need to trim the bottom ½” area to. Make sure to remove the same amount from both sides to keep it even. I removed 1/16” from each side, leaving about 1/16” larger on each side than the top. This is the stopper and will keep the panel from coming out of the card.


5- Place the inside panel in between the Foam Strips. At the top of the cardstock where the ½” gap is between the top edge and Foam Strips, add a small piece of Foam Strip horizontally making sure the edge of the Strip touches the side of the inside panel. Repeat on the other side. The larger part of the panel at the bottom will catch on these when pulled, to create the stopper to keep the panel inside the card.

6- Make sure the panel moves easily up and down within the Foam Strips. If not make any necessary changes.


7- With the landscape panel in place between the Foam Strips. Remove the paper backing on the Foam Strips and close the back panel over the top. If you want you can cut along the fold before or after folding it closed.


8- Stamp a tree in Garden Green in on to scrap paper, then on the extra white cardstock from the circle cut out. Then stamp the details in Garden Green ink. Fussy cut out. Add this to the front of the card to the right of the larger tree and below the circle opening with adhesive only on the bottom of the tree.


9- Stamp the greeting on the 2nd half of the Banner Die Cut in Garden Green ink. Trim the flat side to match the angled side. Add some adhesive to the left side and attach a faux box with 8” of Black Twine. Add below the tree with dimensionals.


10- Punch a decorative label punch (Label Me Fancy Punch) from Basic White Cardstock. Remove ½” from each side. Attach them to the top of the inside panel, one of the front & back. Cut or draw a small arrow (Give It A Whirl Dies, Black Cardstock, Adhesive Sheets) on to the center of the tab.


11- Stamp a greeting or write your message on the white inside area of the circle when the panel is pull up. Add some rhinestones around the card.

All Done!


I have also created a video walking you through each step:

To purchase any of the products you see in this video visit

https://www.stampinup.com?demoid=2042902

Have a creative day!

Chelsey

chelsey@creativechelsey.com

Tuesday, July 20, 2021

CLEAR Alternative Handmade Card Idea - Stampin' Up July 2021 Paper Pumpkin Kit The Adventure Begins

Welcome to Paper Pumpkin Week here at Creative Chelsey. I love getting my Paper Pumpkin Kit every month and creating fun alternative projects using the supplies in the kit. Today is my first alternative project using the July 2021 Paper Pumpkin Kit – The Adventure Begins. This kit comes with everything you need to make 12 fun outdoor / adventure themed handmade cards and even better they are trifold with a peekaboo window. Using the supplies in the kit I like to create alternative cards. Today I would like to share with you this Clear Alternative Card Idea. I hope you enjoy learning how to make this card.


I love creating alternative cards with Paper Pumpkin Kits so make sure to come back for more as I continue to create with this month’s kit. I would love to see your finished creations that are inspired by this tutorial! You can tag me in any social media post using @creativechelsey | #creativechelsey or email me at chelsey@creativechelsey.com


It is Paper Pumpkin Week here on Creative Chelsey. This is the first tutorial this week. If you would like to see all my alternatives check out the playlist here: https://youtube.com/playlist?list=PL40dV1oxpkNn5vdApR03XumTDzcyC0gc2

Watch me UNBOX this month’s Paper Pumpkin Kit here: https://youtu.be/M3_VlerdWxM


Don't miss out on next months Paper Pumpkin Kit - subscribe today!
SUBSCRIBE to Paper Pumpkin - click here –


See my Customer Appreciation Products for this month: http://creativechelsey.blogspot.com/p/shop-stampin-up-products.html

Follow me on Instagram https://www.instagram.com/creativechelsey/

Or join my Facebook group https://www.facebook.com/groups/2221750878097906

To purchase any of the products you need to create this project visit https://www.stampinup.com?demoid=2042902

Here are the dimensions and pieces you will need to create this card:

From the Kit:

Lantern Cardbase

Circle Label

Banner Label

Sequins

Extra Cardstock:

Window Sheet / Clear Acetate Sheet - Cardbase 5 ½” x 8 ½” scored at 4 ¼”

Basic White Cardstock – scraps for stamping


Here is a list of the supplies I used to make the card:

Window Sheets 142314 $5.00

Basic White Cardstock 159276 $9.75

Garden Green Ink Pad 147089 $7.50

Granny Apple Green Ink Pad 147095 $7.50

Baker’s Twine Essentials Pack 155475 $11.00

Shimmery Crystal Effects 150892 $5.00

Paper Trimmer 152392 $25.00

Simply Shammy 147042 $8.00

Stampin’ Seal PLUS Adhesive 149699 $12.00

Multipurpose Liquid Glue 110755 $4.00

Tear & Tape Adhesive 138995 $7.00

Dimensionals 104430 $4.00

Clear Block D 118485 $8.50

Paper Snips 103579 $10.00

Bone Folder 102300 $7.00

Stampin' Pierce Mat 126199 $5.00

Take Your Pick Tool 144107 $10.00


1- Score the Window Sheet Cardbase in half at 4 ¼” make sure to use a Bone Folder to create a good crease.


2- Trim the Lantern Front Flap from the cardbase at 4 ¼”. You should now have a regular cardbase if you rotate it so the branches are at the bottom. Trim the open side to 4” and remove 1/8” from top and bottom. Adhere to the inside of the Clear cardbase with Tear & Tape Adheisve.


3- From the Lantern Side trim off the bottom white strip and then cut a ¾” x 4” strip from the bottom area. Add this to the front of the Clear cardbase about 1” from the bottom with Tear & Tape Adhesive.

4- Remove the Lantern from the rest of the cardstock, if you want remove the handle from the top. Add the Lantern to the center of the Clear cardbase with dimensionals. You want it to touch the top of the strip.


5- Stamp two trees in Granny Apple Green & Garden Green Ink. Use the inside image to add texture. Then fussy cut out. Trim about ½” from the left side of the Granny Apple Green tree so it can be flush with the left side of the cardbase. Adhere it to the inside flap about ½” from the top left corner.

6- Add the Garden Green tree below and to the right with dimensionals.


7- Cut the Banner Label in half so you have two ½” strips. Stamp “The World Awaits You” in Garden Green on one of the strips. Trim the flat side so it matches the angle of the other side. Add below the trees on the inside flap with dimensionals. It should be hidden behind the strip on the front when the card is closed.


8- Stamp “Let Your Light Shine” in Garden Green on the Circle Label. Add adhesive to the back and wrap 2 pieces of 10” each in a faux bow. Add to the front of the card in the bottom right corner with dimensionals.


9- Add some Sequins around the Lantern and a little Shimmery Crystal Effects to the flame. Let dry before placing inside an envelope.

All Done!


I have also created a video walking you through each step:

To purchase any of the products you see in this video visit

https://www.stampinup.com?demoid=2042902

Have a creative day!

Chelsey

chelsey@creativechelsey.com