

Have you ever seen a card on Instagram or Facebook and wanted to recreate it? In this video I show you how to be inspired by a card, find the elements you love about it, draw your own layout, and then create 4 different looking cards from your design. From this video you will be able to DIY your own handmade cards.
Below the video you will find a list of all the products I used the make the cards as well as cardstock sizes for each card. I have also included close-up images for all the cards.
To purchase any of the products you see in this video visit
https://www.stampinup.com/ECWeb/default.aspx?culture=en-us&dbwsdemoid=2042902

I love how it has a simple layout that is easy to identify and a strong focal point.

1- a vertical element
2- a smaller horizontal element
3- a focal point that sits to the left / above the horizontal element
4- a border/matted look
See if you can find each of these elements in my cards below.
Follow me on Instagram @creativechelsey
Or join my Facebook group https://www.facebook.com/groups/2221750878097906
Here is a list of all the Stampin' Up products I used.
Dasiy Lane Bundle Stamp 149325 $23.00
Dasiy Punch 143713 $18.00
Above the Clouds Bundle (includes the stamp set & punch) 151135 $36.00
Rococo Rose Cardstock 150882 $8.75 & Ink Pad 150080 $7.50
Seaside Spray Cardstock 150883 $8.75 & Ink Pad 150085 $7.50
Pear Pizzazz Cardstock 131201 $8.75 & Ink Pad 147104 $7.50
Night of Navy Cardstock 100867 $8.75 & Ink Pad 147110 $7.50
Whisper White Cardstock 1007330 $9.75
Linen Thread 104199 $5.00
Metallic Thread Silver 138402 $3.50
Clear Droplets 147801 $9.00
Wink of Stella 141897 $8.00
Aqua Painter 103954 $17.00
Simply Shammy 147042 $8.00
Snail Adhesive 104332 $7.00
Dimensionals 104430 $4.00
Mini Dimensionals 144108 $4.00
Stampin' Pierce Mat 126199 $5.00
Clear Block D 118485 $8.50
Paper Snips 103579 $10.00
Bone Folder 102300 $7.00
1-1/2" Circle Punch 138299 $16.00
Banner Triple Punch 138292 $23.00
To purchase any of the products visit
https://www.stampinup.com/ECWeb/default.aspx?culture=en-us&dbwsdemoid=2042902

Daisy Lane Card 1- "The best moments"
Pear Pizzaz Cardstock- card base: 8.5" x 5.5" scored at 4.25" / 0.5" x 3.5"
Whisper White Cardstock- 4" x 5.25" / 2.75" x 5.5" / 2" x 2"
Seaside Spray Cardstock- 2" x 4"
Linen Thread 24"
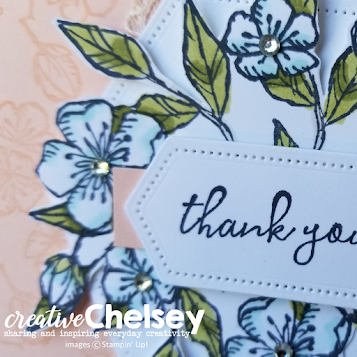
This card is very similar to the inspiration card. I created my own DSP with a smaller flower stamp from the set and added some linen thread.


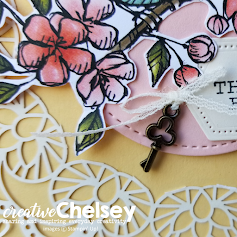
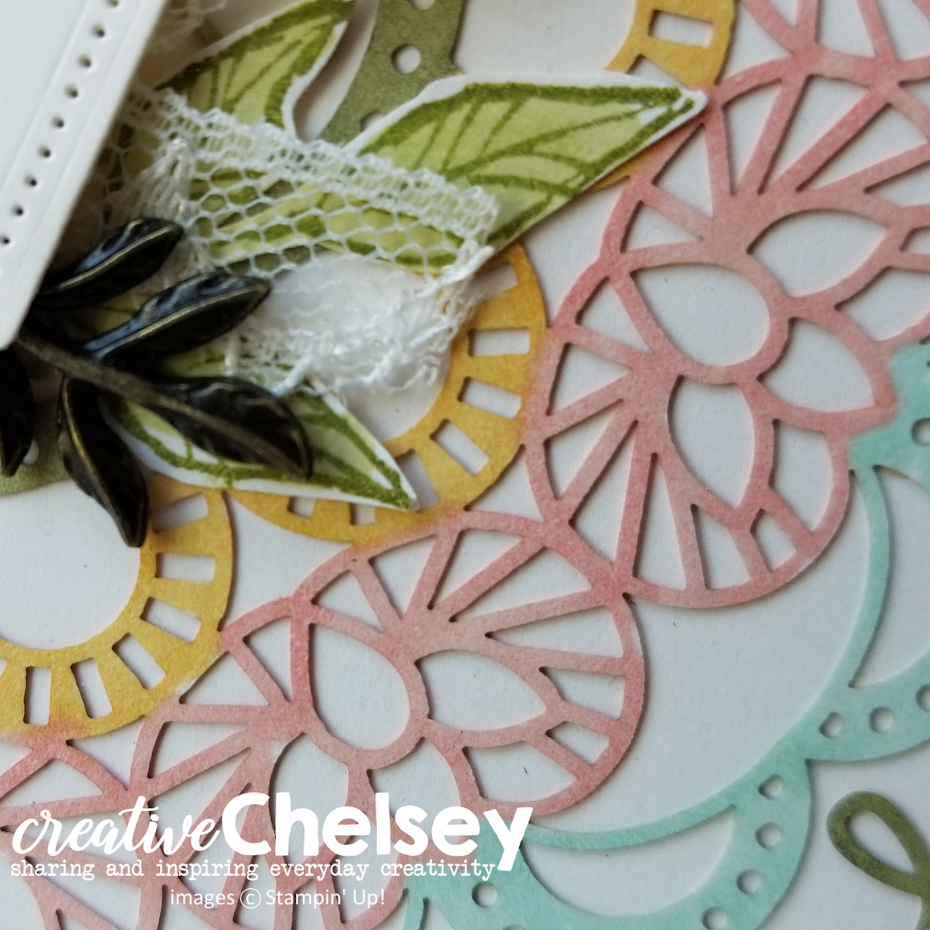
Daisy Lane Card 2- "Friend"
Rococo Rose Cardstock- card base: 8.5" x 5.5" scored at 4.25"
Whisper White Cardstock- 4" x 5.25" / 2.75" x 5.5" / 2.5" x 1.5"
Pear Pizzaz Cardstock- 0.5" x 8.5"
Linen Thread 24"
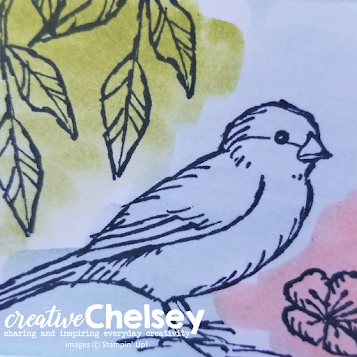
For this card I created the vertical element by stamping directly on my background paper with the large leaf stamp. I used a strip of Pear Pizzaz to create a bunched ribbon effect. I love how different this card looks compared to the others.


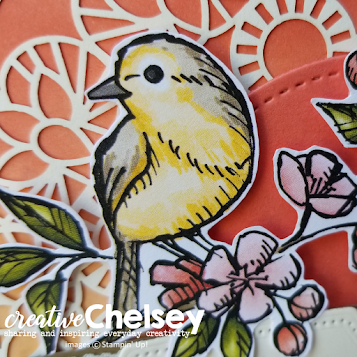
Above the Clouds Card 1- "You're off to great places"
Whisper White Cardstock- card base: 4.25" x 11" scored at 5.5" / 0.5" x 3.25" / 2" x 5"
Seaside Spray Cardstock- 4" x 5.25"
Night of Navy Cardstock- 2"x 5.25"
Pear Pizzaz Cardstock - 0.5" x 4"
It was fun using this layout with 2 different stamp sets. For this card I created a stronger vertical element by using a darker color and bringing it almost through the whole card. The focal point is brought above the horizontal element which gives it a different look.


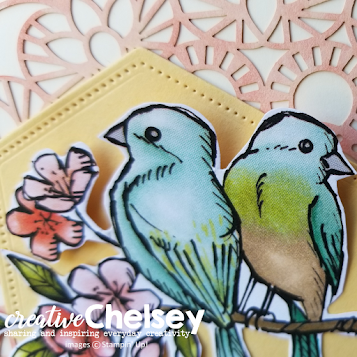
Above the Clouds Card 2- "Let your dreams soar"
Seaside Spray Cardstock- card base: 8.5" x 5.5" scored at 4.25" / 2" x 2"
Night of Navy Cardstock- 4"x 5.25" / 0.5" x 2.5"
Whisper White Cardstock- 3 7/8" x 5 1/8" / 2" x 2.5"
Rococo Rose Cardstock- 1.75" x 3.75"
For my last card I went back to my original layout but moved the vertical element to the center of my card and the horizontal piece gets a little smaller. I also added an extra color to the mat to bring in the darker Night of Navy color. Such a fun card!


https://www.stampinup.com/ECWeb/default.aspx?culture=en-us&dbwsdemoid=2042902
I hope you enjoyed my video and blog post going over how I was able to make 4 different cards from one layout. Give it a try, I would love to see what you came up with.
- Have a creative day!
Chelsey


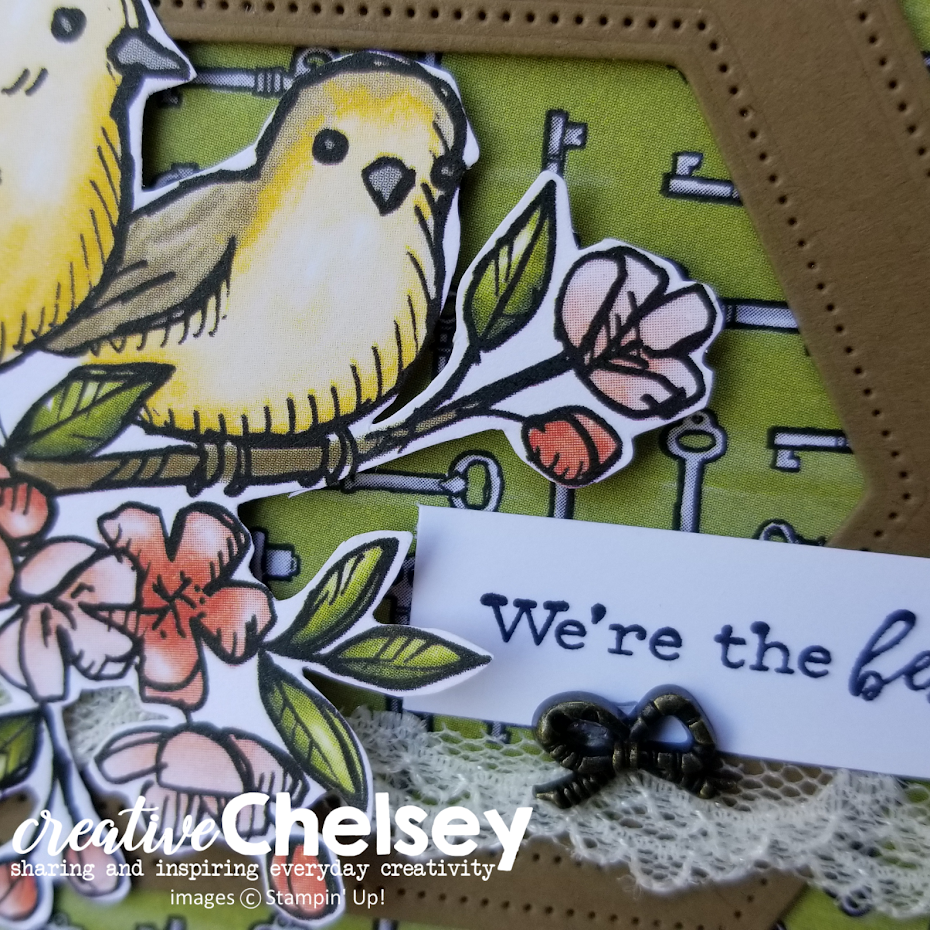


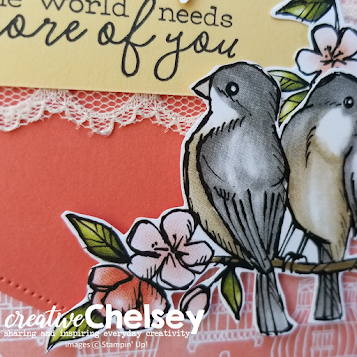
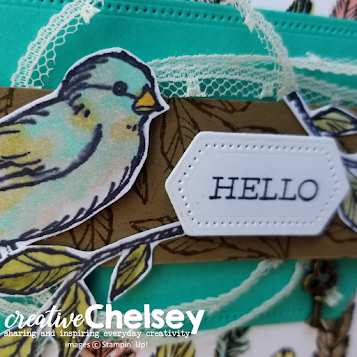


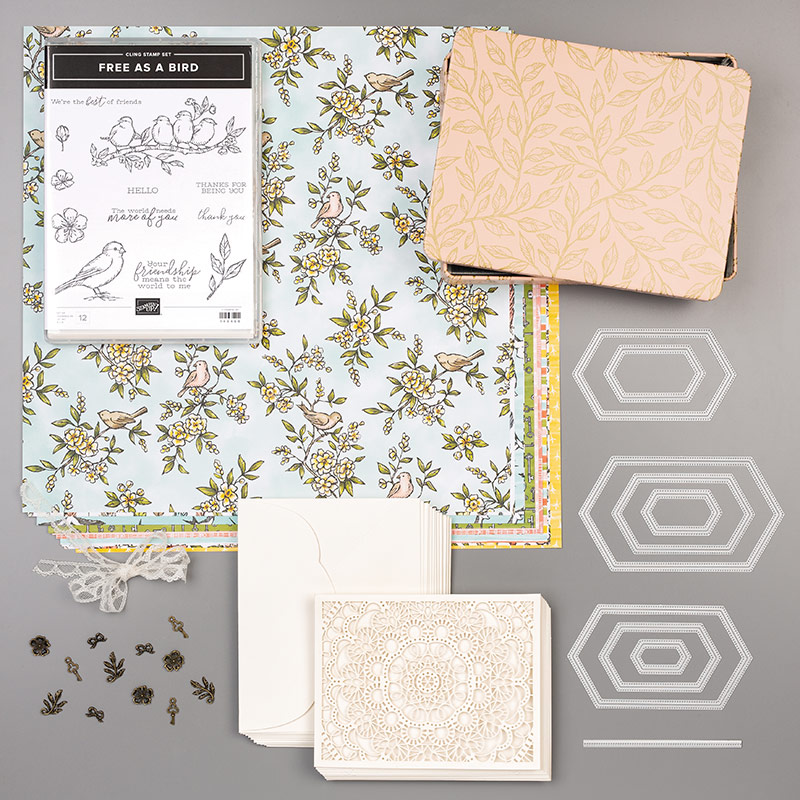 BIRD BALLAD SUITE
 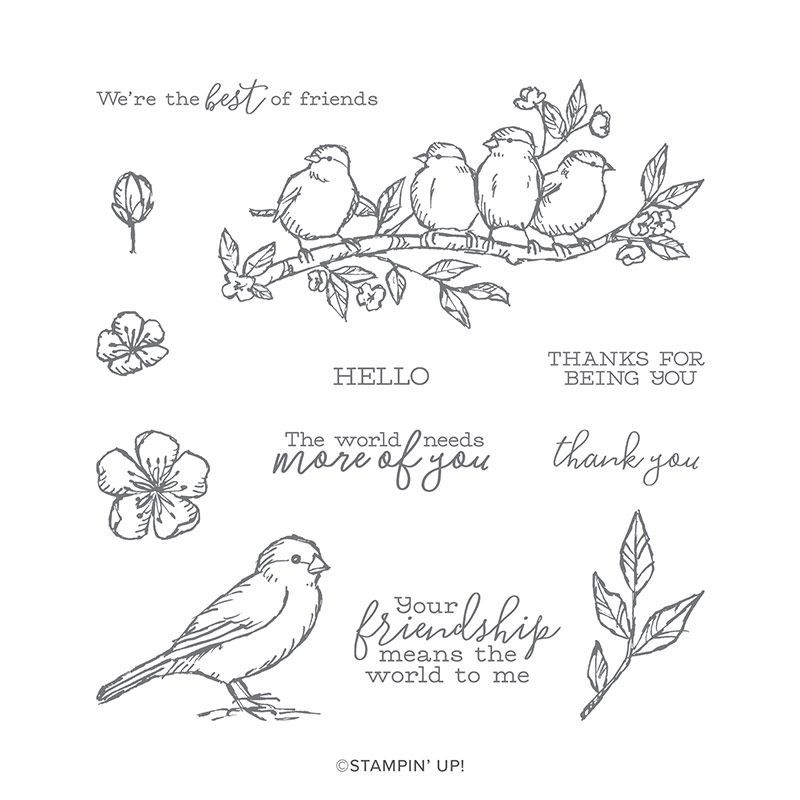 Free as a Bird Stamp Set ($22.00 value)
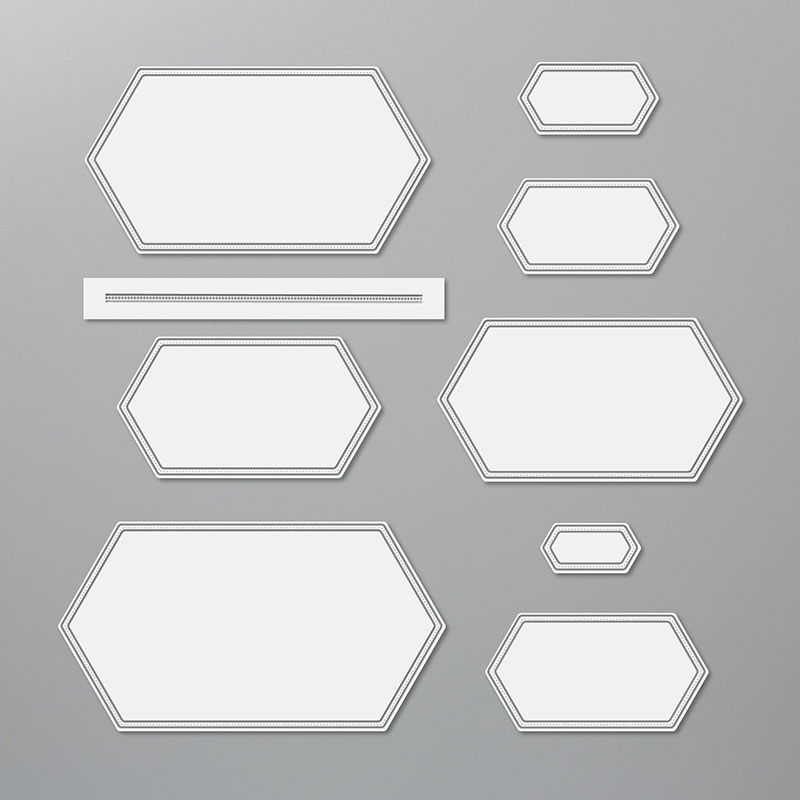 Stitched Nested Labels Dies ($35.00 value)
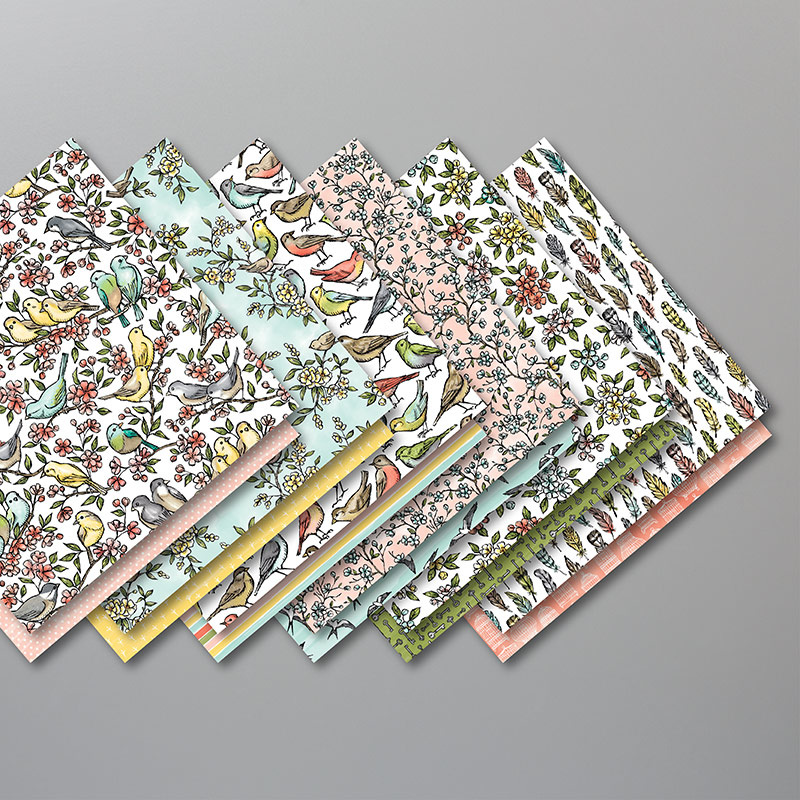 Bird Ballad Designer Series Paper ($11.50 value)
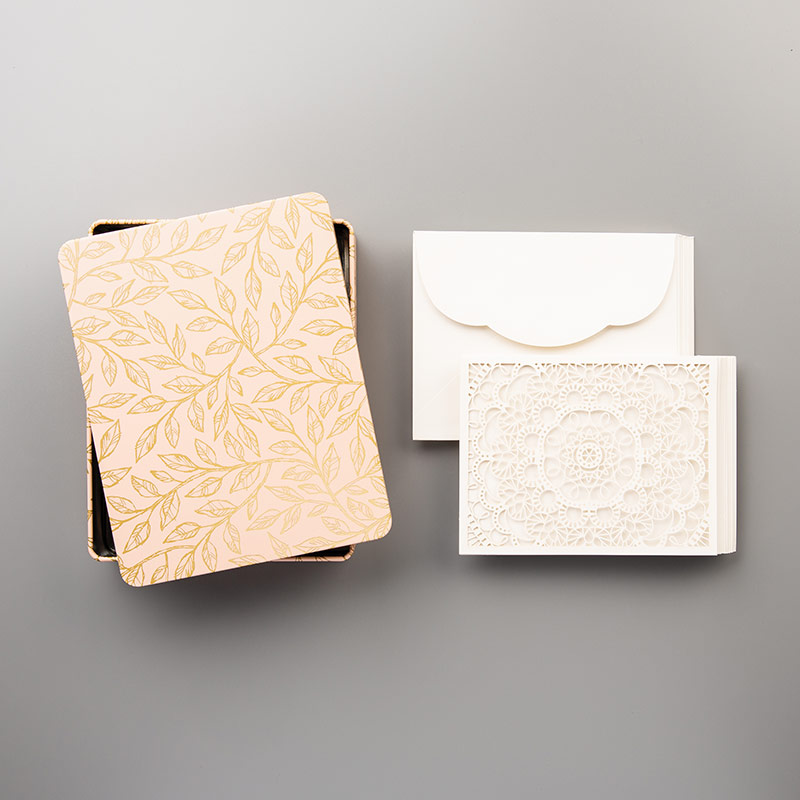 Bird Ballad Laser-cut Cards & Tin ($18.00 value)
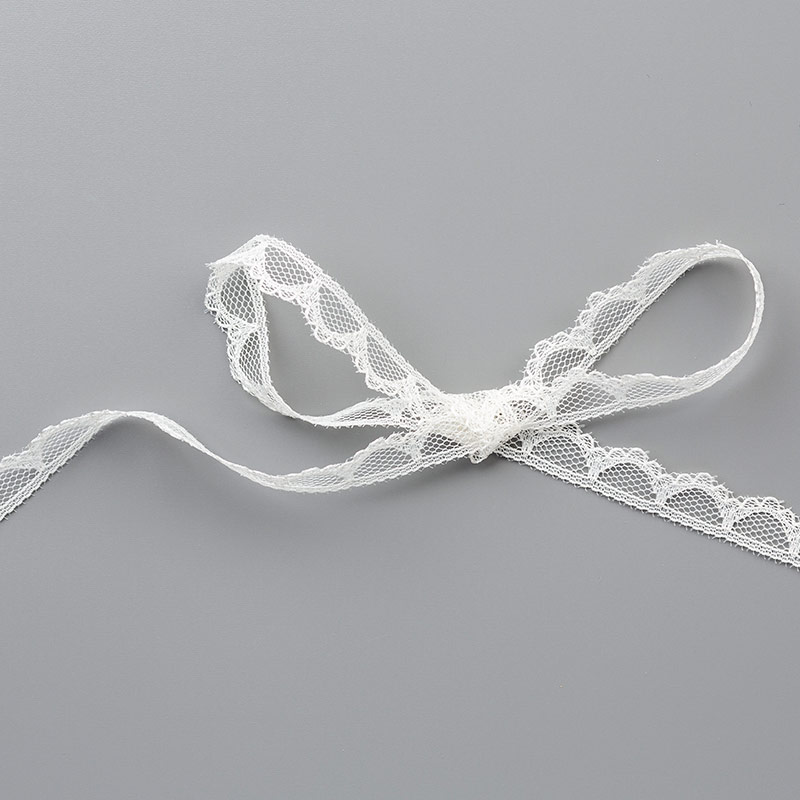 3/8" Scalloped Lace Trim ($7.00 value)
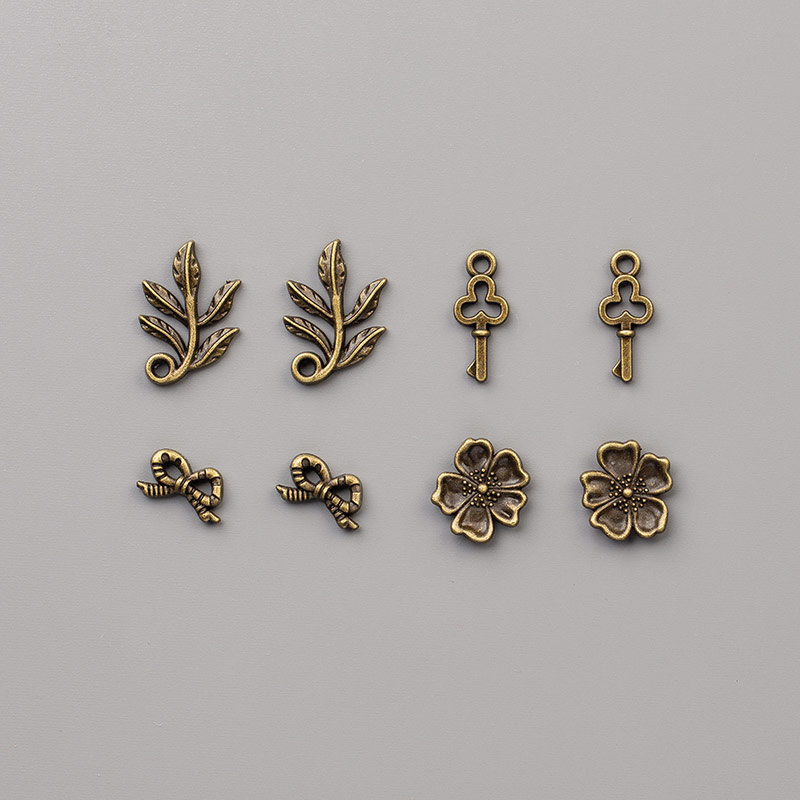 Bird Ballad Trinkets ($7.00)