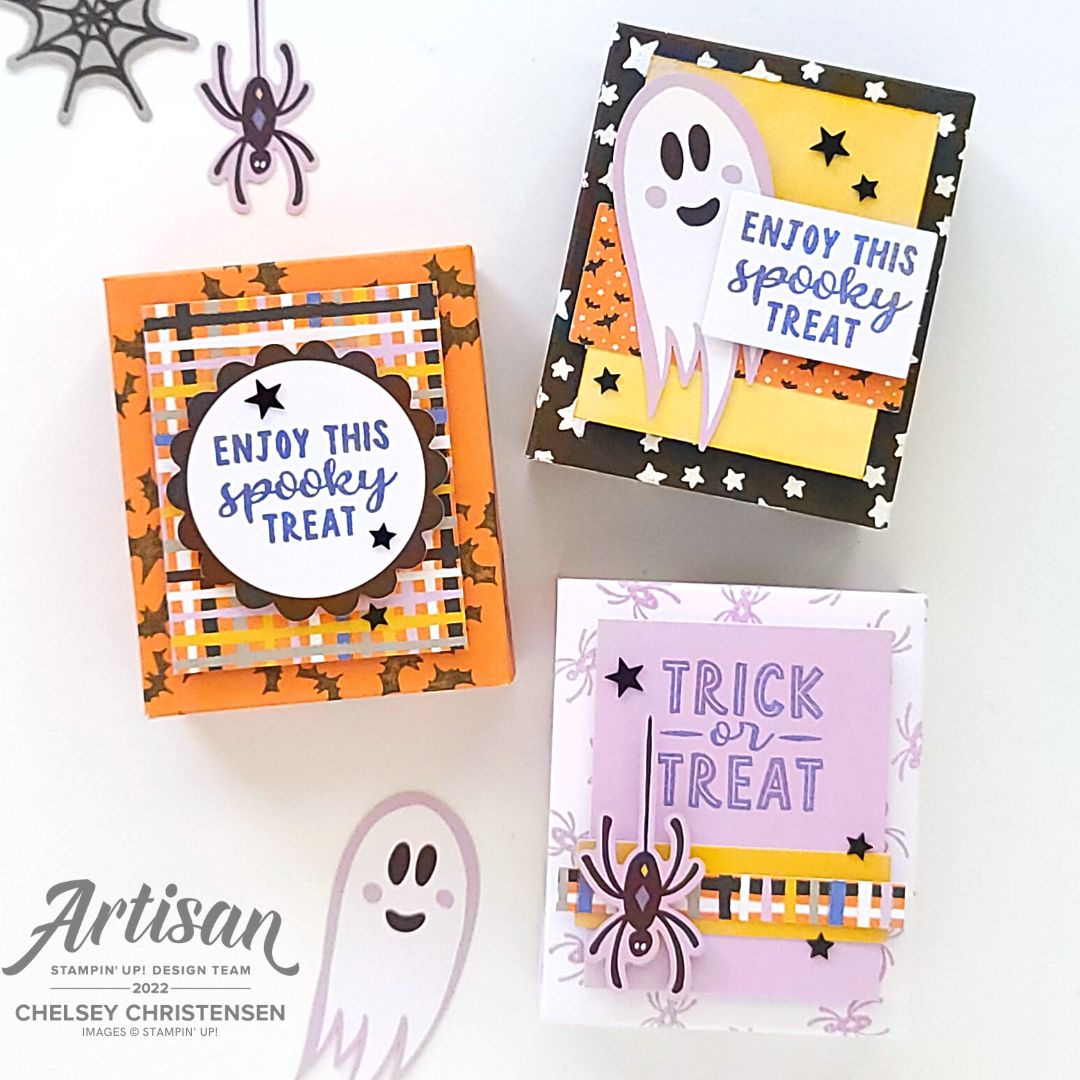
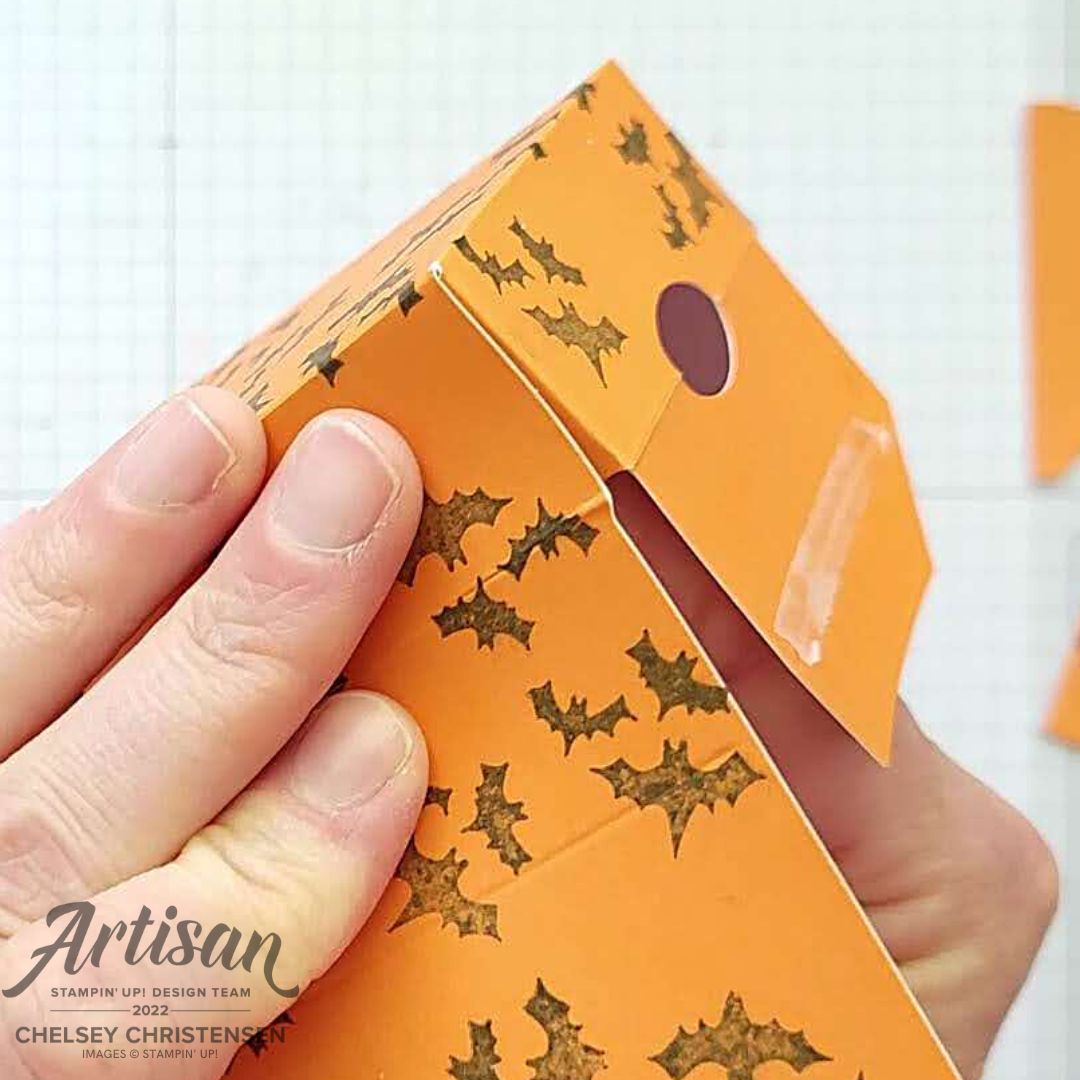
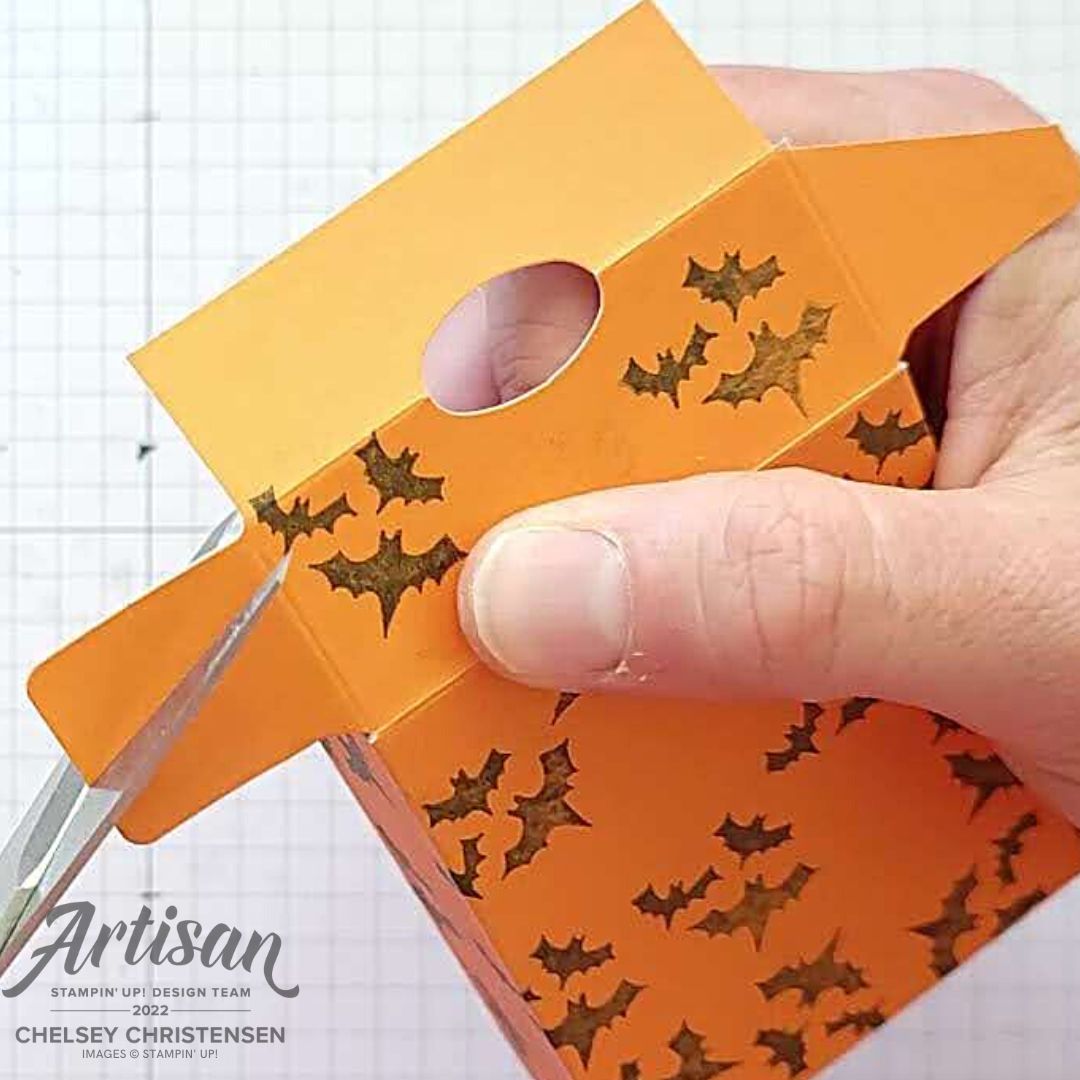
Welcome to Paper Pumpkin Week here at Creative Chelsey. I love getting my Paper Pumpkin Kit every month and creating fun alternative projects using the supplies in the kit. Today I am sharing my last alternative idea using the September 2022 Paper Pumpkin Kit – Spooky Treats. This kit comes with everything you need to make 18 Halloween Treat Boxes, 6 in three different designs.

Every month my Paper Pumpkin subscribers receive an exclusive card kit designed by me using the stamp set from that month’s Paper Pumpkin Kit. These are the cards they will be creating as an extra thank you for being my Paper Pumpkin Customer. If you would like to also receive this special perk, sign up today and select me as your demonstrator (Chelsey Christensen, CO) click here: https://www.paperpumpkin.com/en-us/sign-up/?demoid=2042902.
What I like to do is use the supplies in the kit and create different or alternative cards. Today I am sharing a quick and simple idea using just the stamp set from the kit to create a fun halloween card. I love creating alternative projects with Paper Pumpkin Kits so make sure to check out all the projects I have made with this month’s kit.

If this project inspires you to create something, I would love for you to tag me in any social media post using @creativechelsey | #creativechelsey or email me at chelsey@creativechelsey.com.
It is Paper Pumpkin Week here on Creative Chelsey. This is my last alternative this week. If you would like to see all my alternatives check out the playlist here: https://youtube.com/playlist?list=PL40dV1oxpkNnNgYxeAHN73IKpPUSTBYYJ
Want to see everything in this month’s kit? Watch me UNBOX this month’s Paper Pumpkin Kit here: https://youtu.be/mZDrKt9Z6WU

Don't miss out on next month’s Paper Pumpkin Kit -
subscribe today!SUBSCRIBE to Paper Pumpkin - click here –

Don't miss out on next month’s Paper Pumpkin Kit - subscribe today!
See my Customer Appreciation Products for this month: http://creativechelsey.blogspot.com/p/shop-stampin-up-products.html
Follow me on Instagram https://www.instagram.com/creativechelsey
Or join my Facebook group https://www.facebook.com/groups/2221750878097906
To purchase any of the products you need to create this project visit https://www.stampinup.com?demoid=2042902
———————— What You Need ————————
Gray Granite Cardbase – 5 ½” x 8 ½” scored at 4 ¼”
Fresh Freesia Cardstock – 1” x 3”
Crushed Curry Cardstock – 1” x 3”
Garden Green Cardstock – 1” x 3”
Rich Razzleberry Cardstock – 1” x 3”
Pumpkin Pie Cardstock – 1” x 3”
Basic White Cardstock – 2 ¾” x 4 ¼”
Orchid Oasis Ink Pad
Basic Black Stampin’ Write Marker
Matte Black Dots
———————— Supplies I used to Make These Cards ————————
• Gray Granite 8-1/2" X 11" Cardstock [146983]
$9.25 —— https://bit.ly/3RkImox
• Fresh Freesia 8 1/2" X 11" Cardstock [155613]
$9.25 —— https://bit.ly/3bG6VgO
• Crushed Curry 8-1/2" X 11" Cardstock [131199]
$9.25 —— https://bit.ly/3bO7R2s
• Garden Green 8-1/2" X 11" Cardstock [102584]
$9.25 —— https://bit.ly/3ffFbRi
• Rich Razzleberry 8-1/2" X 11" Cardstock
[115316] $9.25 —— https://bit.ly/3xLoGmG
• Pumpkin Pie 8-1/2" X 11" Cardstock [105117]
$9.25 —— https://bit.ly/3DGQtZg
• Basic White 8 1/2" X 11" Cardstock [159276]
$10.25 —— https://bit.ly/3OUrF2w
• Orchid Oasis Classic Stampin' Pad [159214] $8.00 —— https://bit.ly/3UqtJTd
• Basic Black Stampin' Write Marker [100082] $3.00 —— https://bit.ly/3UpULtS
• Matte Black Dots [154284] $7.00 —— https://bit.ly/3DMwR6a
———————— My Favorite Supplies ————————
• Stampin' Seal+ [149699] $12.00 —— https://bit.ly/3Ibz8YK
• Multipurpose Liquid Glue [110755] $4.00 —— https://bit.ly/3IaGF9S
• Tear & Tape Adhesive [138995] $7.00 —— https://bit.ly/3ajQSo5
• Stampin' Dimensionals [104430] $4.25 —— https://bit.ly/3IbzezA
• Mini Glue Dots [103683] $5.25 —— https://bit.ly/3anAcw3
• Stampin' Pierce Mat [126199] $5.00 —— https://bit.ly/3IjEq4d
• Simply Shammy [147042] $8.50 —— https://bit.ly/3bQH7hE
• Paper Snips [103579] $11.00 —— https://bit.ly/3ulT6tV
• Take Your Pick [144107] $10.00 —— https://bit.ly/3IeYxR9
• Bone Folder [102300] $7.00 —— https://bit.ly/3uhErzZ
• Clear Block D [118485] $9.00 —— https://bit.ly/3uuabSs
• Paper Trimmer [152392] $25.00 —— https://bit.ly/3abvykH
• Stampin' Cut & Emboss Machine [149653] $125.00 —— https://bit.ly/3ujz8zU

1- Begin by stamping your choice of pattern on each of the strips of color cardstock. I used the same ink Orchid Oasis for all 5 strips, but if you have the coordinating ink color you may use those. I stamped the Star image on both Fresh Freesia & Pumpkin Pie, Web image on Crushed Curry, Spiders on Garden Green, and the Bats on Rich Razzleberry.

2- Attach all 5 strips in the center of the cardbase. I started with the top & bottom to identify the space I wanted to fill, then haphazardly add the other three strips in the center.

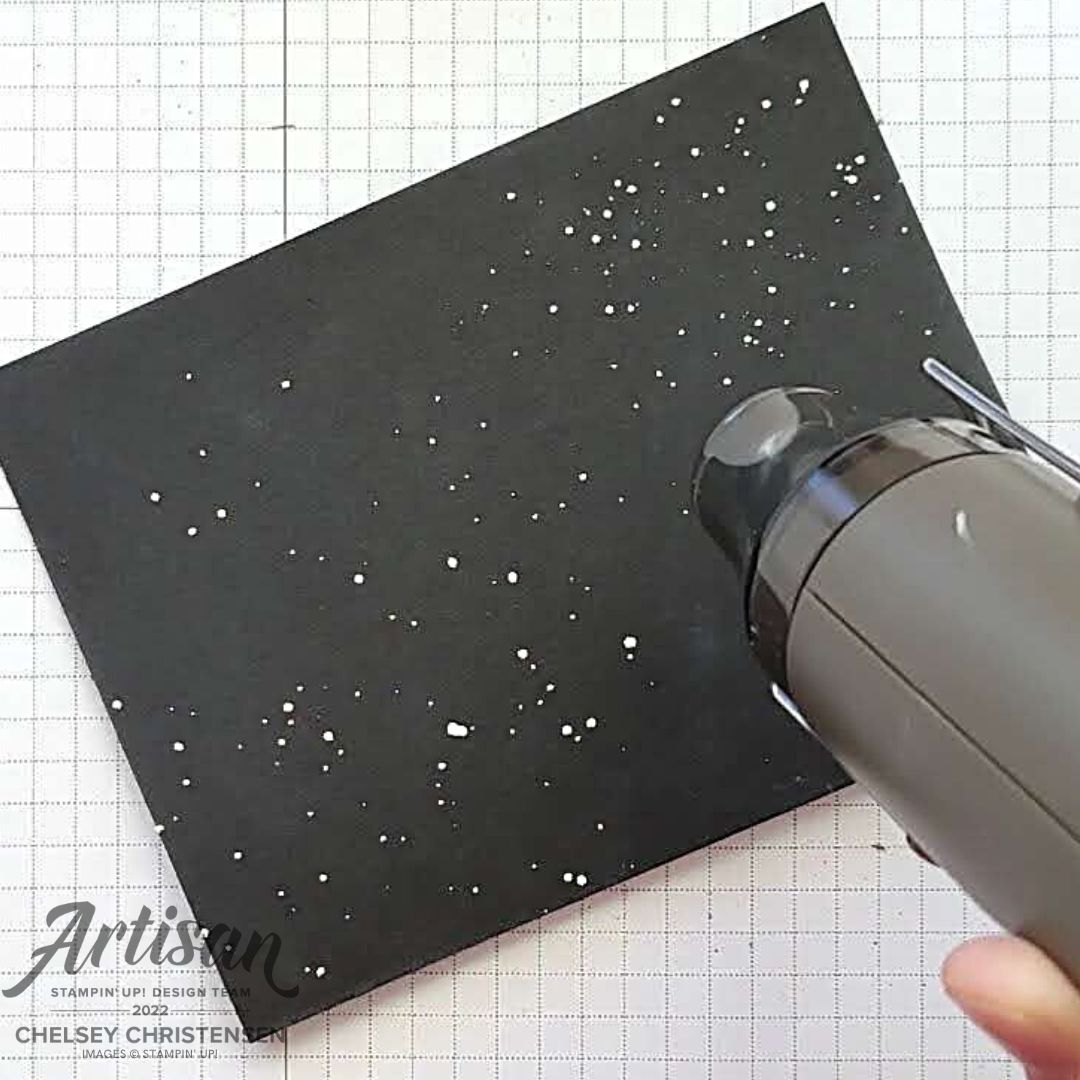
3- Use the Basic Black Marker and add splatter on the card.

4- Ink the Ghost image in Orchid Oasis, then before stamping use a Basic Black Stampin’ Write Marker and color in the eyes & mouth. Then stamp on white paper (I used scraps) and fussy cut out inside the Orchid Oasis line (no bubble cut). Create a total of three Ghosts.

5- Add the Ghosts on the in the corners with dimensionals. I place one in the bottom left corner and two in the top right. Add them at angles that make them look like they are floating.

6- Stamp your greeting on Basic White Cardstock and cut out with any label shape. I used the Tailored Tag Punch (retired). Add this at the bottom with dimensionals.
7- Add three Matte Black Dots to your card.
All Done!
I have also created a video walking you through each step
and some of the details from the other cards:
Here is the same card layout using leftover pieces from the Paper Pumpkin Kit. Enjoy!


To purchase any Stampin’ Up! products please visit
https://www.stampinup.com?demoid=2042902
Have a creative day!
Chelsey
chelsey@creativechelsey.com