

Today's tutorial focuses on using up those extra pieces you have from your October 2019 Paper Pumpkin Kit - Winter Woods! After making some really fun alternative cards with this kit from Stampin Up I had some extra pieces that weren't used. This handmade card was inspired by those pieces. I also show you how to create a heat emboss resist with a watercolor background to create a beautiful snowflake sky. I hope you give it a try.

Don't miss out on next months Kit - subscribe today - by clicking this link!
https://www.paperpumpkin.com/en-us/sign-up/?demoid=2042902

It is Paper Pumpkin Week here on CreativeChelsey. Check out my other tutorials at these links.
Monday - Turn the original card into a Shaker Card -
Tuesday - Two Beautiful Alternative Cards -
Wednesday - Turn the Snowflake Stamp into Autumn Leaves -
Thursday -
Friday -
Here are the dimensions and pieces you will need to create these cards:
Gray Granite Cardstock card base 5.5" x 8.5" scored at 4.25"
Poppy Parade Cardstock 3" x 3/75"
Fluid 100 Watercolor Paper 3.5" x 5"
20" White Bakers Twine
Here is a list of the supplies I used to make the cards:
Gray Granite Cardstock 146983 $8.75
Poppy Parade Cardstock 119793 $8.75
Poppy Parade Ink Refill 119791 $3.75
Fluid 100 Watercolor Paper 149612 $9.00
White Bakers Twine 124262 $3.50
Night of Navy Ink Pad 147110 $7.50
VersaMark Ink Pad 102283 $9.50
Shimmer White Embossing Powder 149511 $6.00
Heat Tool 129053 $30.00
Embossing Buddy 103083 $6.00
Aqua Painter 103954 $17.00
Shimmery Crystal Effects 150892 $5.00
Stamparatus 146276 $49.00
Simply Shammy 147042 $8.00
Snail Adhesive 104332 $7.00
Multipurpose Liquid Glue 110755 $4.00
Dimensionals 104430 $4.00
Clear Block D 118485 $8.50
Paper Snips 103579 $10.00
Bone Folder 102300 $7.00
Stampin' Pierce Mat 126199 $5.00
Take Your Pick Tool 144107 $10.00


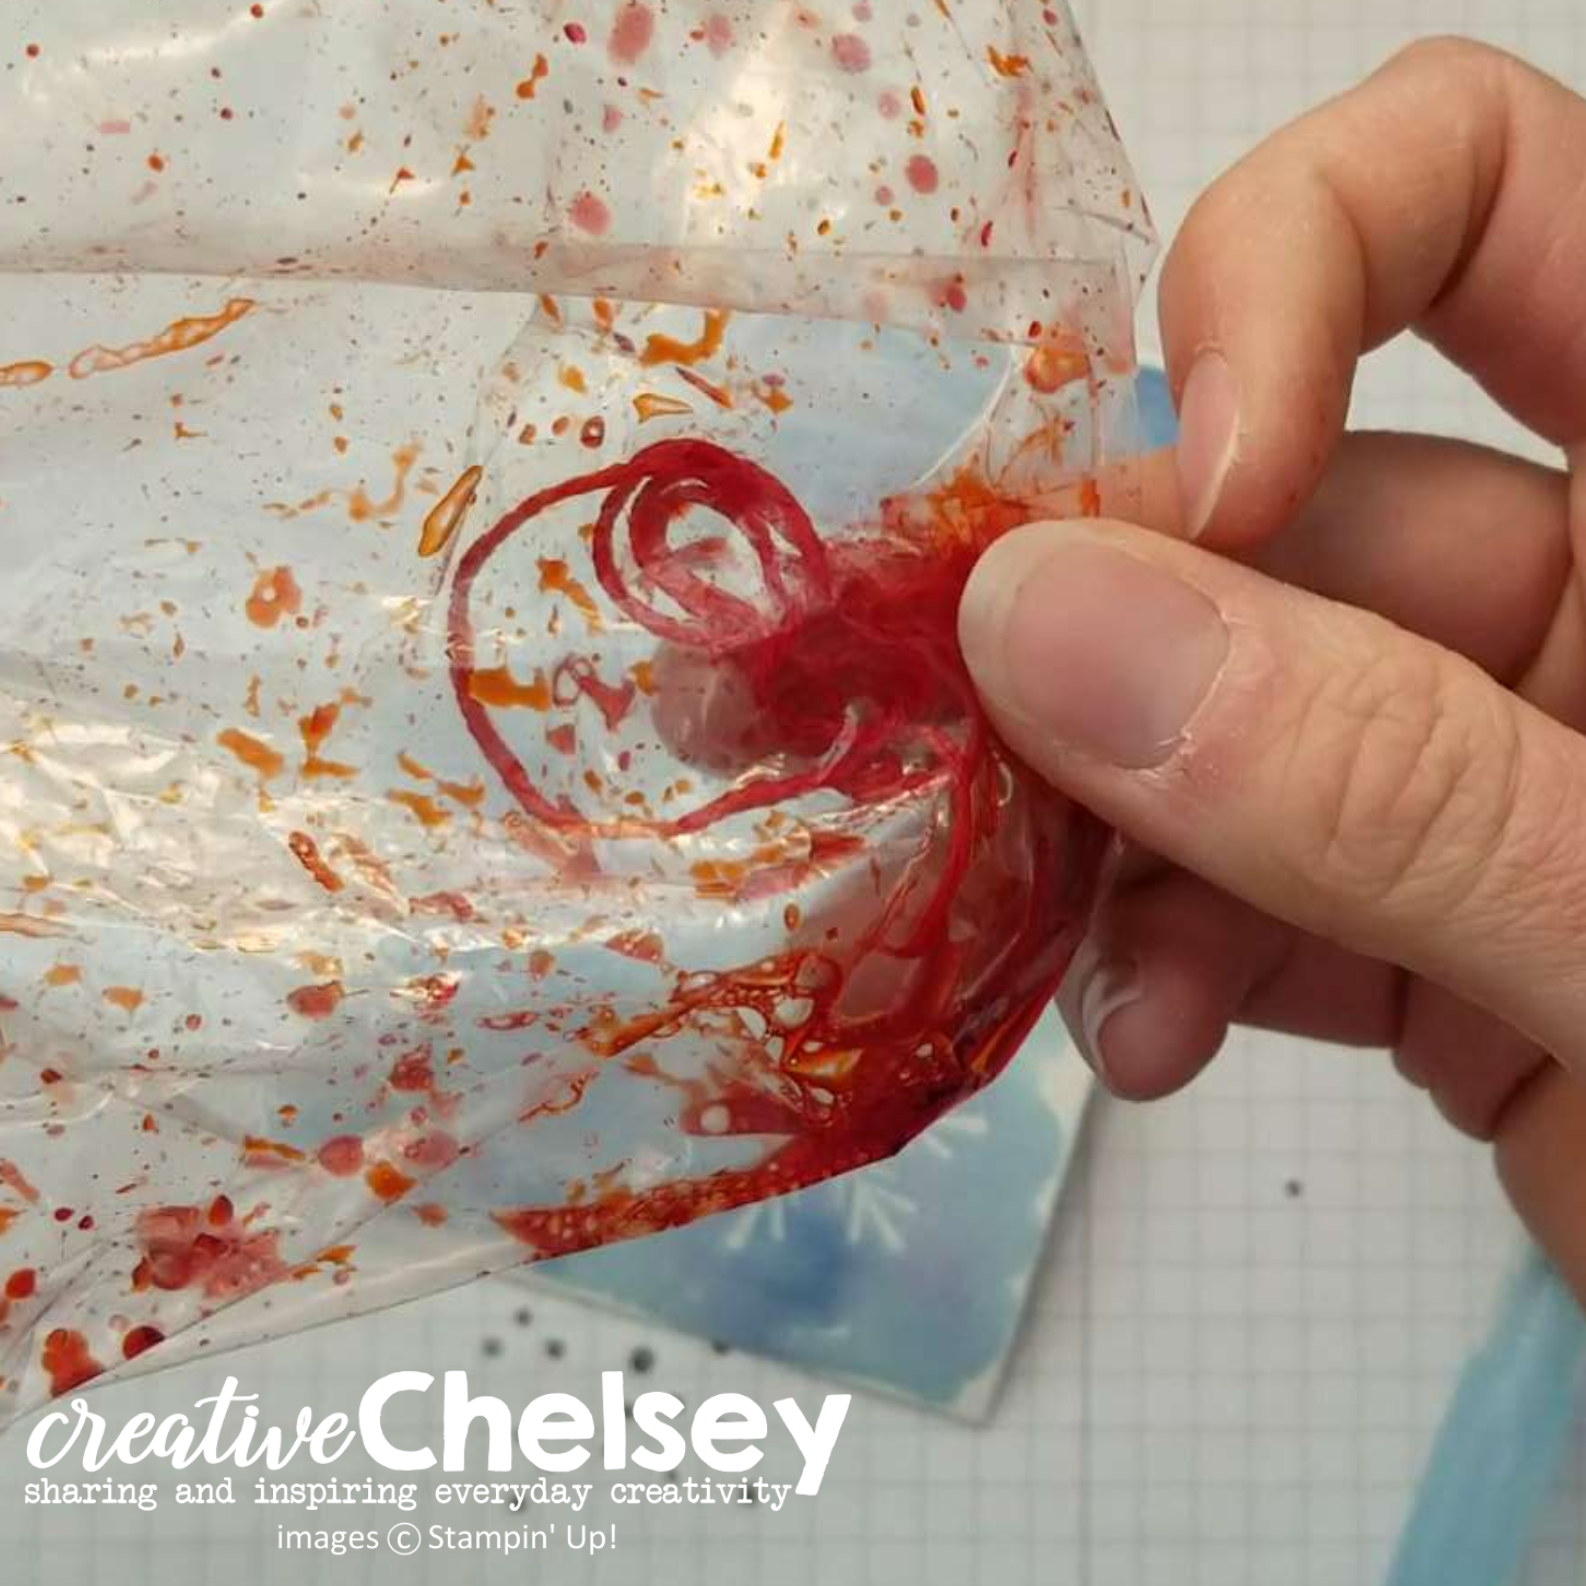
Get it wet
Place inside a ziploc bag.
Add about 5 drops of color - I used Poppy Parade
Rub the twine around in the bag to saturate the twine with the color
Take out of bag with tweezers or a crochet hook.
Place on a scrap paper and either air dry or use your heat tool.


Add the center of the card base with liquid glue.

Start with the inside scrap paper from the tree cut-outs. Place with the shimmery side up in your Stampapratus.
Place your stamp in the center of your paper.


5 snowflakes with the shimmery crystal effects. Add these around the greeting
1 cardinal with a drop of glue in the right top corner of the greeting, add some shimmery crystal effects all over the cardinal. This will give it some shine and help it pop.
Untwist the ends of the twine
I have made this video walking you through the steps to make this card.
To purchase any of the products you see in this video visit
https://www.stampinup.com/ECWeb/default.aspx?culture=en-us&dbwsdemoid=2042902
Have a creative day!
Chelsey
No comments:
Post a Comment