It is time for another tutorial for the Global Stampin’ Video Hop on YouTube. Each month on the fourth Friday Stampin’ Up Demonstrators from around the world come together and share their projects based on a monthly theme. January’s Theme is FREE and we can interpret it any way we want. I am so excited to see what everyone creates this month, make sure to watch my video below and then jump around and see them all.
When I heard the word FREE I thought of all the awesome SALE-A-BRATION items you can get for free this month with a qualifying purchase through my Stampin’ Up! online store https://www.stampinup.com?demoid=2042902.
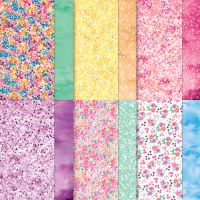
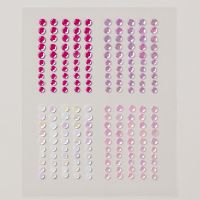
I decided to use my favorite FREE SALE-A-BRATION ITEMS – Bloom Impressions Designer Series Paper and the Purple Adhesive-Backed Sequins. I just love how easily these items can be used with so many colors and products.
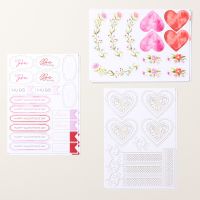
The cards I am sharing today use these FREE items along with the Celebrate Love Mix & Match Ephemera Pack to create 6 quick and easy Valentine’s Day Cards that anyone can make. They are perfect for beginner card makers!
Since each card uses the Ephemera to create different card fronts, I am going to share some fun tips & techniques you can use with this cute pack to make your cards pop! Check them all out below and then create your own cards with this mix & match pack or use the images to help you create the ones I made.
I hope you are inspired today as you see all the Projects from everyone while jumping from video to video. If you are inspired to make a project from something you see today please share it with us, we would love to see what you come up with. You can tag me @creativechelsey in any social media post.
See my Customer Appreciation Products for this month: http://creativechelsey.blogspot.com/p/shop-stampin-up-products.html
Follow me on Instagram https://www.instagram.com/creativechelsey
Or join my Facebook group https://www.facebook.com/groups/2221750878097906
To purchase any of the products you need to create this project visit
https://www.stampinup.com?demoid=2042902
Product ListMeasurements:
Cardbases – 5 ½” x 8 ½” scored at 4 ¼”
Bloom Impressions Designer Series Paper – 3” x 4”
Basic White Cardstock – 3 1/8” x 4 1/8”
Card #1 – Petal Pink Cardbase
Card #2 – Balmy Blue Cardbase
Card #3 – Bubble Bath Cardbase
Card #4 – Soft Sea Foam Cardbase
Card #5 – Lemon Lolly Cardbase
Card #6 – Fresh Freesia Cardbase
TIPS & TECHNIQUES
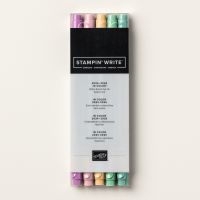
Splatter with a Stampin’ Write Marker on to the Background to give a little texture & interest.
Cut the DSP to 3” x 4” and add to a Basic White 3 1/8” x 4 1/8” to give the pattern a border helping it pop from the cardbase. Add with dimensionals to the center of the cardbase.
Add liquid glue to used Dimensional Backing and tap small delicate pieces into glue when applying them to a card.
Separate the tall Floral Ephemera Pieces in the center to give you two pieces.
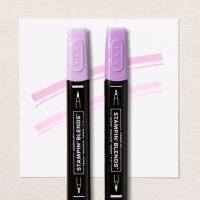
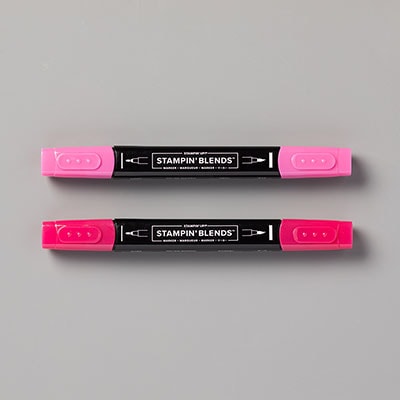
Add Stampin’ Blend Markers to colored cardstock in the same color to give depth and interest behind Ephemera Pieces to help them stand out against the pattern paper.
 |
 |
Cut a rough border around the Ephemera Pieces so you can layer them together. |
|---|---|---|
 |
Color the White Ephemera Pieces with Stampin’ Blend Markers to help them pop from the pattern paper. | |
|---|---|---|
Remove the color banner part of the Greeting so you can place it at different angles and in different areas on your card.
Add delicate details by only showing part of the Ephemera Pieces under greetings.
HAVE FUN!
If you would like to watch me create these cards with step-by-step
tips and directions, please watch this video:
If you need any product to make these cards, please visit
my online store: http://www.stampinup.com?demoid=2042902
Have a creative day,
Chelsey
chelsey@creativechelsey.com





No comments:
Post a Comment