

Welcome to Paper Pumpkin Week here at Creative Chelsey. Today is my third alternative card idea using the July 2021 Paper Pumpkin Kit – The Adventure Begins. This Shadow Box Handmade Card is a fun twist on the Peekaboo Window Trifold Cards that came in the kit. I love how the movement from the campers and trees on the inside really add something fun to this card.

I love creating alternative cards with Paper Pumpkin Kits so make sure to come back for more as I continue to create with this month’s kit. I would love to see your finished creations that are inspired by this tutorial! You can tag me in any social media post using @creativechelsey | #creativechelsey or email me at chelsey@creativechelsey.com

It is Paper Pumpkin Week here on Creative Chelsey. This is my third tutorial this week. If you would like to see all my alternatives check out the playlist here:
https://youtube.com/playlist?list=PL40dV1oxpkNn5vdApR03XumTDzcyC0gc2
Watch me UNBOX this month’s Paper Pumpkin Kit here: https://youtu.be/M3_VlerdWxM

Don't miss out on
next months Paper Pumpkin Kit - subscribe today!SUBSCRIBE to
Paper Pumpkin - click here –

Don't miss out on next months Paper Pumpkin Kit - subscribe today!
See my Customer Appreciation Products for this month: http://creativechelsey.blogspot.com/p/shop-stampin-up-products.html
Follow me on
Instagram https://www.instagram.com/creativechelsey/
Or join my Facebook group https://www.facebook.com/groups/2221750878097906
To purchase any of the products you need to create this project visit https://www.stampinup.com?demoid=2042902

Here are the dimensions and pieces you will need to create these cards:
From the Kit:
Camper Cardbase
Large Tree Die Cut
Small Tree Label
Extra Cardstock:
Basic White Cardstock – Cardbase 5 ½” x 9 ¼”
White Cardstock for stamping or you can use the white
back panel from the cardbase.
Window Sheet – ¾” x 3 ½” | ¾” x 2 ¼”
Here is a list of the supplies I used to make the cards:
Basic White Cardstock 159276 $9.75
Window Sheets 142314 $5.00
Garden Green Ink Pad 147089 $7.50
Granny Apple Green Ink Pad 147095 $7.50
Baker’s Twine Essentials Pack 155475 $11.00
Paper Trimmer 152392 $25.00
Simply Shammy 147042 $8.00
Stampin’ Seal Adhesive 152813 $8.00
Multipurpose Liquid Glue 110755 $4.00
Tear & Tape Adhesive 138995 $7.00
Dimensionals 104430 $4.00
Clear Block D 118485 $8.50
Paper Snips 103579 $10.00
Bone Folder 102300 $7.00
Stampin' Pierce Mat 126199 $5.00
Take Your Pick Tool 144107 $10.00

1- Score 5 times in ½” intervals on each side of the 5 ½” x 9 ¼” cardbase. Start on ½”, then 1”, 1 ½”, 2”, & 2 ½”. Then flip the cardbase and repeat. You should also have a black space about 4 ¼” wide. Accordion Fold each section starting with #5 folding towards the front of the card, repeat on other side.
See template.

Print Template Here:
https://drive.google.com/file/d/1L4NgN0Uk_uvQSm-sOHZBFLfv4la_GUrt/view?usp=sharing

2- Remove the front Camper section of the cardbase at 4 ¼”. Remove the Plant pattern section of the cardbase along the fold line. Tip: Use a sharp blade and start your cut in the middle of the cardstock. Add the Plant pattern to the 4 ¼” blank section of the Shadow Box Cardbase.

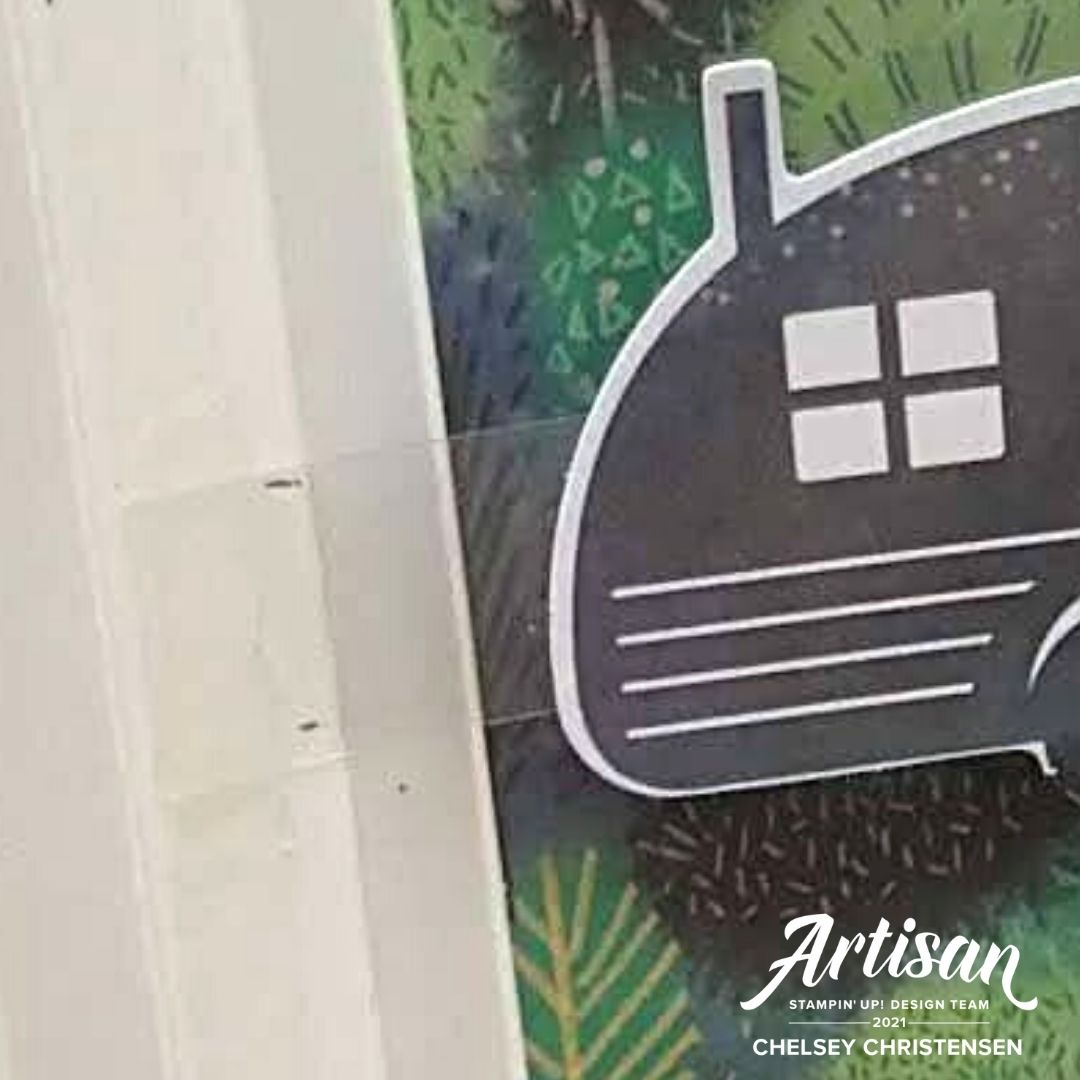
3- Remove the Camper from the cardbase. I did cut around the tire to make a full circle and colored in the green area with a Black Watercolor Pencil. This is a personal preference. Attach it to the right side of the 3 ½” Window Sheet strip with glue dots.

4- Stamp the Line Detail image over the Large Tree Die cut in Garden Green Ink. Remove the Small Tree from the Label and stamp the Detail image on top in Garden Green Ink as well. Connect the two trees together with the smaller on the left and centered with the large tree. Add these to the left side of the 2 ¼” Window Sheet strip with glue dots.

5- Temporally place the Window Frame section over the Plant section and mark where you want the Camper and Trees to be placed in sections #2 (see template). I placed the Camper just slightly higher than the bottom of the window and the Trees at the top of the window. Remove the Window Frame section.
6- Add Tear & Tape Adhesive to all of section #2. Attach the Window Strips where you indicated. Add another piece of Tear & Tape over the Window Strip and close section #3 over #2. Repeat of the other side.

7- Add the Window Frame section to the front of the cardbase by adding Tear & Tape to section #5. Make sure it is on the top of the section when the sides are all folded together. Start with top right corner and slowly match the edge all the way down to the bottom right corner. Then try to fold both sides down and as you press the card closed attach the other side at the same time. This is a little tricky, but ensures that the card will fold flat. See video below for more details.

8- Add more trees and bushes to the front of the card. Stamp the Large Tree image in Garden Green and add the Detail in Garden Green as well. Fussy cut out. Add to the left of the cardbase and trim any overhang.

9- To create a Bush - Place the Small Scatter Lines image with the flat side out so your stamping a solid image. Ink in Garden Green and stamp two times to get two images, one dark & one light. Clean and repeat with Granny Apple Green ink. Clean and flip the stamp over and add the Scatter Lines inside each “bush” with full strength matching ink. Fussy Cut Out. Add these to the right of the tree, make sure one is covering the “dip” left from the tire.

10- Cut the rectangle from the Small Tree Label at ½” and stamp the greeting in Garden Green Ink. Add a faux bow with 8” of Black Twine to the back and adhere to the center of the card with dimensionals.
All Done!
I have also created a video walking you through each
step:
To purchase any of the products you see in this video visit
https://www.stampinup.com?demoid=2042902
Have a creative day!
Chelsey
chelsey@creativechelsey.com
No comments:
Post a Comment