Are you ready for another TGIF Challenge. This week is a theme challenge – CHRISTMAS COOKIES! Who doesn’t love a plate of Christmas Cookies delivered right to your door? With these cute Paper Cookies you can send cookies to everyone you love. In today’s recipe – LOL, I want to share with you two fun techniques you can do to create your own Christmas Cookies These cookies can be add to any paper crafting project, think tags, scrapbook pages, and of course cards. I just love how they turned out and hope you do too.
Don’t miss out on being inspired by the other designers – head over to TGIF Challenges Blog - https://tgifchallenges.blogspot.com/2024/12/tgifc504-inspiration-challenge.html
This was such a fun card to create. I hope you play along with this week’s TGIF Challenge and share your creation on the blog. To participate upload it to the TGIF blog post using the Linky Tool, details can be found at the bottom of the TGIF post.
Product List
———————— My Favorite Supplies ————————
• Stampin' Seal+ [149699] $12.00 —— https://bit.ly/3Ibz8YK
• Multipurpose Liquid Glue [110755] $4.00 —— https://bit.ly/3IaGF9S
• Tear & Tape Adhesive [138995] $7.00 —— https://bit.ly/3ajQSo5
• Stampin' Dimensionals [104430] $4.25 —— https://bit.ly/3IbzezA
• Mini Glue Dots [103683] $5.25 —— https://bit.ly/3anAcw3
• Stampin' Pierce Mat [126199] $5.00 —— https://bit.ly/3IjEq4d
• Simply Shammy [147042] $8.50 —— https://bit.ly/3bQH7hE
• Paper Snips [103579] $11.00 —— https://bit.ly/3ulT6tV
• Take Your Pick [144107] $10.00 —— https://bit.ly/3IeYxR9
• Bone Folder [102300] $7.00 —— https://bit.ly/3uhErzZ
• Clear Block D [118485] $9.00 —— https://bit.ly/3uuabSs
• Paper Trimmer [152392] $25.00 —— https://bit.ly/3abvykH
• Stampin' Cut & Emboss Machine [149653] $125.00 —— https://bit.ly/3ujz8zU
• White Gel Pen - (this is my favorite from amazon) https://amzn.to/3Rp9LrZ
(As an Amazon Associate, I earn from qualifying purchases)
Basic Beige Cardbase – 5 ½” x 8 ½” scored at 4 ¼”
Real Red Cardstock – 4” x 4 ½”
Crumb Cake Cardstock – 4” x 4 ¼”
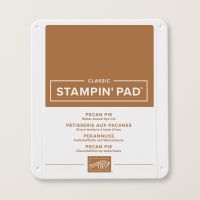
Pecan Pie Cardstock – scraps for stamping & 2” Circle
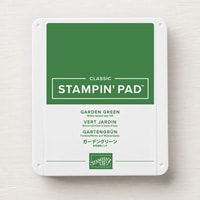
Garden Green Cardstock – scraps for greeting & 7/8” x 3 ¼”
Cookies Strip
Basic White Cardstock – scraps for Die Cut Cookies
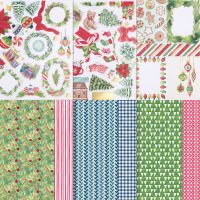
Real Red Stripe Pattern (A Little Bit Festive DSP) – ¾” x 4”
Cookie Die Cut (A Little Bit Festive DSP)
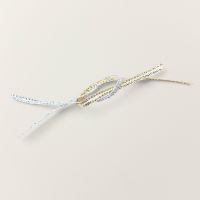
10” Silver Ribbon
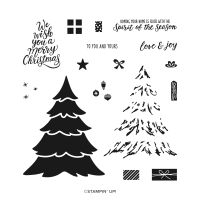
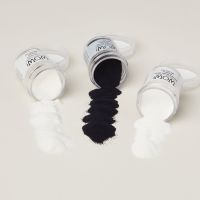
1- Find a Stamp Set that can create a frosting effect, look for a solid holiday themed image. I used the tree from Merriest Trees Stamp Set. Stamp & Heat Emboss in White Embossing Powder on Pecan Pie Cardstock to look like frosting. If you would like help heat embossing please refer to this blog post - https://creativechelsey.blogspot.com/2024/11/basic-paper-crafting-techniques-heat.html
2- Fussy cut out or use a coordinating die. I chose to fussy cut so I could get a rounder shape making it look more like a cookie. For the Circle Cookie I cut out a 2” Circle from Pecan Pie Cardstock.
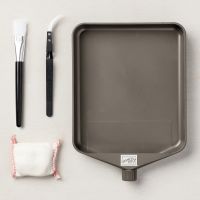
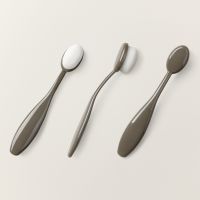
3- Add “browned edges” to your cookie with a Small Blending
Brush and Pecan Pie Ink. If any ink gets on the White Frosting you can remove
it with a damp paper towel.
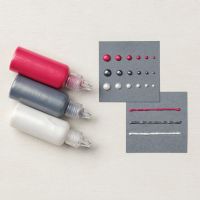
4- Add Sprinkles with the Pearlized Enamel Effects. I used the Real Red color and added dots to my trees.
For the Circle I first drew a snowflake design with a White Gel Pen and then went over it with the White Pearlized Enamel Effects and then added a couple Red Dots. Let dry completely!
5- Add the Real Red Cardstock at an angle to the center of the cardbase. Splatter Garden Green ink on the Crumb Cake piece, then stamp the small stars from the Merriest Trees Set in Garden Green ink randomly. Place the Red & White Striped DSP strip in the center. Add this over the Real Red piece at an opposing angle.
6- Add the Cookies to the center of the card with dimensionals. I place the Tree on the left and the Circle above the Red & White Striped Strip.
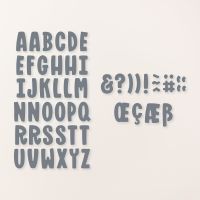
7- Cut out COOKIES from Basic White Cardstock with Adhesive Sheet on the back using the Mini Alphabet Dies. Add the letters to a Silicone Craft Sheet, then pick up the whole word with some Masking Paper. Then you can place it perfectly on the Strip of Garden Green Cardstock. See video below for step-by-step details on this great tip. Add this over the Tree just below the Red & White Striped piece.
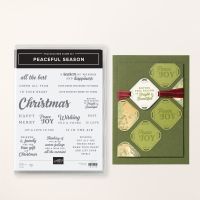
8- Stamp your greeting in VersaMark and Heat Emboss in White, twice. Then cut out the parts you want to use for your card. I like to have two just incase I have to cut too close to some words. I used “Thinking of you with warm feelings and a wish for all the merriest” from the Peaceful Season Stamp Set. I used all the words except feelings – replaced it with COOKIES. Place the words around COOKIES with dimensionals.
9- Tie a faux bow with 10” of Silver Ribbon and slide under the bottom right corner of the tree. Add a Die Cut Cookie from the A Little Bit Festive Pack in the bottom left corner.
All Done!
To purchase any Stampin’ Up! products please visit
https://www.stampinup.com?demoid=2042902
Have a creative day!
Chelsey











No comments:
Post a Comment