Tuesday, December 31, 2024

So Many Techniques! - December 2024 Paper Pumpkin Kit - Notes From The Heart - Stampin' Up!

Welcome to Paper Pumpkin Week here on Creative Chelsey. Today I begin sharing my beautiful alternative card ideas you can make with supplies from the December 2024 Paper Pumpkin Kit called Notes From The Heart


The cards this month are beautifully simple scalloped edges cards with gorgeous large die cuts. They are perfect to make to send a quick note to friends and family. If you would like to watch me unbox the kit and make the original cards visit this playlist -  
https://www.youtube.com/playlist?list=PL40dV1oxpkNnioYqEkJBHi8pkYbS_nrGp


This is the first alternative card idea I will be sharing with you this week. card is full of techniques, so I hope you stick around and see them all. I have also incorporated another Paper Pumpkin Stamp Set into the design, this one is from the July 2024 Painted Petals Kit. I love how the shape of the leaves mimics the shape from the Vellum Leaves. If you don’t have this set, you can use any stamp you already have.

Each month I take the contents from the paper pumpkin kits and make alternative projects. My cards are easy to follow and can be made by both experienced or new paper crafter. You may need just a couple other products to complete them. You can follow along with me using supplies you already have or purchase any products you see me use from my online store. A full supply list is below or on my blog – www.creativechelsey.com

I also want to mention the amazing perks you can receive when you subscribe to Paper Pumpkin with me as your demonstrator. With every Paper Pumpkin Stamp Set & Ink Spot sent, I design a card and mail out my very own card kit to my subscribers so they can make two of my exclusive card design. These cards so fun and show new ways to use stamps & ink. We also meet once each month to make the card together, chat & have fun. *PLUS I have joined with other Stampin’ Up! Demonstrators to design 8-10 more alternative ideas in a PDF Tutorial (includes photos & instructions). My subscribers receive this PDF Tutorial along with an Exclusively Designed Card Kit, all for FREE! If you would also like to receive this extra perk, sign up for paper pumpkin using the link below and make sure to select me as your demonstrator.

If you are interested in getting your own paper pumpkin subscription, please use this link to subscribe -  https://www.paperpumpkin.com/en-us/sign-up/?demoid=2042902


If this project inspires you to create something, I would love for you to tag me in any social media post using @creativechelsey | #creativechelsey or email me at chelsey@creativechelsey.com.

If you would like to see written instructions or close up images of these cards please visit my blog -

It is Paper Pumpkin Week here on Creative Chelsey. This is my first alternative card idea. If you would like to see all my alternatives this month check out the playlist here: https://www.youtube.com/playlist?list=PL40dV1oxpkNnioYqEkJBHi8pkYbS_nrGp

Don't miss out on next month’s Paper Pumpkin Kit - subscribe today!
SUBSCRIBE to Paper Pumpkin - click here –


Product List


See my Customer Appreciation Products for this month: http://creativechelsey.blogspot.com/p/shop-stampin-up-products.html

Follow me on Instagram https://www.instagram.com/creativechelsey

Or join my Facebook group https://www.facebook.com/groups/2221750878097906


To purchase any of the products you need to create this project visit https://www.stampinup.com?demoid=2042902


———————— My Favorite Supplies ————————

• Stampin' Seal+ [149699] $12.00 —— https://bit.ly/3Ibz8YK

• Multipurpose Liquid Glue [110755] $4.00 —— https://bit.ly/3IaGF9S

• Tear & Tape Adhesive [138995] $7.00 —— https://bit.ly/3ajQSo5

• Stampin' Dimensionals [104430] $4.25 —— https://bit.ly/3IbzezA

• Mini Glue Dots [103683] $5.25 —— https://bit.ly/3anAcw3

• Stampin' Pierce Mat [126199] $5.00 —— https://bit.ly/3IjEq4d

• Simply Shammy [147042] $8.50 —— https://bit.ly/3bQH7hE

• Paper Snips [103579] $11.00 —— https://bit.ly/3ulT6tV

• Take Your Pick [144107] $10.00 —— https://bit.ly/3IeYxR9

• Bone Folder [102300] $7.00 —— https://bit.ly/3uhErzZ

• Clear Block D [118485] $9.00 —— https://bit.ly/3uuabSs

• Paper Trimmer [152392] $25.00 —— https://bit.ly/3abvykH

• Stampin' Cut & Emboss Machine [149653] $125.00 —— https://bit.ly/3ujz8zU

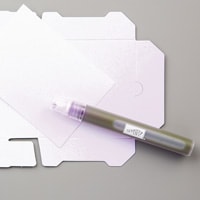
• White Gel Pen (this is my favorite from amazon)—— https://amzn.to/3Rp9LrZ 

   (As an Amazon Associate, I earn from qualifying purchases)  


Thick Basic White Cardbase – 5 ½” x 8 ½” scored at 4 ¼”

Basic White Cardstock – scrap for stamping

Scallop Cardbase – kit

Envelope – kit

Vellum Leaf Die Cut – kit

Linen Thread – 18”


1- Trim the folded sides off of one envelope to access both the front and back. From the front side cut a large 4 ¼” x 5 ½” piece. Wrinkle it up into a ball (or use an embossing folder). Add it to the front of your cardbase and then sand the top to get a lighter color.


2- Cut the Scallop Cardbase at 3 ½” (save the larger piece for future alternatives).

3- Adhere with one glue dot one Vellum Leaf Die Cut in the center of the Scallop piece with the straight edge on the left. Spritz with a mixture of Rubbing Alcohol and drop of re-inker (I used Balmy Blue). Let dry. Don't remove the Vellum.


4- Randomly stamp with Balmy Blue ink (or the color you used in the spritzer) a greeting across the Scallop piece and the Vellum Leaves. Carefully remove the Vellum Leaves (keep – we will use it tomorrow).


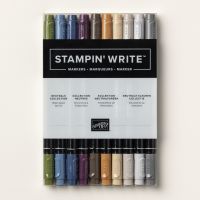
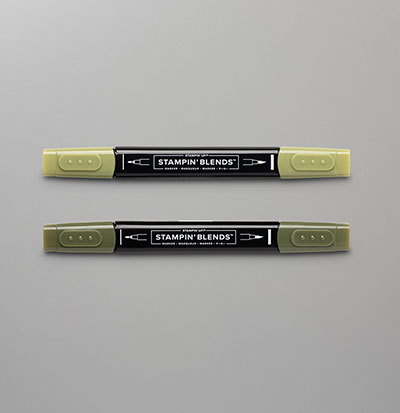
5- Outline the white space with Mossy Meadow Stampin’ Write Marker to give detail to each leaf.


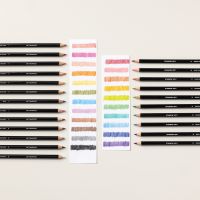
6- Color in each leaf with a Green Color Pencil. I used the Old Olive color from the Stampin’ Up! Watercolor Pencils.

7- Splatter over the Scallop piece with Mossy Meadow ink from a Stampin’ Write Marker.

8- Add the Scallop piece to the Cardbase on the left. I added glue to the straight left edge and dimensionals under the scallop edge on the right.


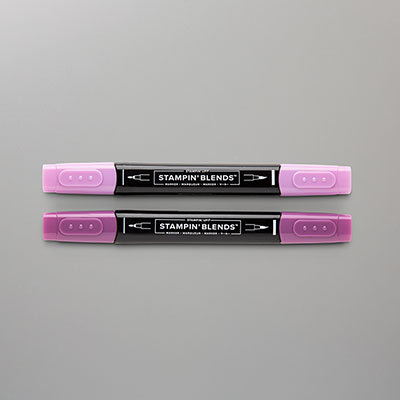
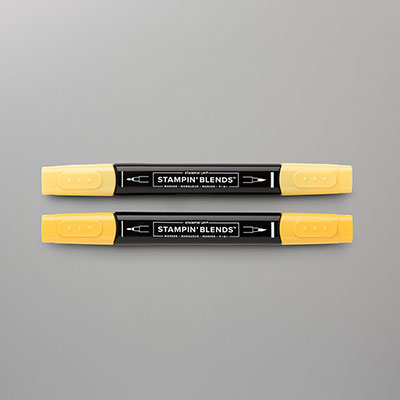
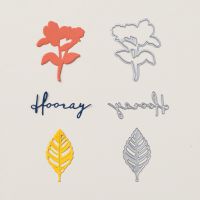
9- Stamp a flower in Mossy Meadow ink (I used the flower from the July 2024 Paper Pumpkin Kit. Color in with your choice of color. I used Blackberry Bliss, Mossy Meadow & Daffodil Delight Stampin’ Blend Markers. You can add a little detail with a White Gel Pen if you want. Cut out with coordinating Every Celebration Dies. Add it to the center of the hand drawn leaves with dimensionals.


10- Stamp your greeting on a ½” strip of Basic White Cardstock in Blackberry Bliss ink. Trim down to fit. Add near the bottom of the flower with dimensionals.

11- Create a faux double loop bow with 18” of Linen Thread. Tuck under the right side of the greeting.

All Done!


I have also created a video walking you through each step.

To purchase any Stampin’ Up! products please visit

https://www.stampinup.com?demoid=2042902


Have a creative day!

Chelsey

chelsey@creativechelsey.com

Friday, December 27, 2024

Global Stampin' Video Hop: Create A Stained Glass Effect With Watercolor & Heat Emboss -Stampin Up!

It is time for another tutorial for the Global Stampin’ Video Hop on YouTube. Each month on the fourth Friday Stampin’ Up Demonstrators from around the world come together and share their projects based on a monthly theme. December’s Theme is THANKS. I am so excited to see what everyone creates this month, make sure to watch my video below and then jump around and see them all. 


The card I am sharing today uses some new products that will be available with the January – April Mini Catalog. If you are interested in getting your own copy of this catalog, please click on the request form here: https://forms.gle/BKcuY1e5UPdXyVEP6


I love this beautiful butterfly bundle and all the fun things I am going to be able to do with it. The Die Set is amazing with a large die that can be used to cut a cardbase into a butterfly shape and also has a die that will fit inside the coordinating Embossing Folder. The Stamp Set includes beautiful images and greetings. I will definitely be using this bundle a lot this spring.


I am also sharing a fun technique that gives your images a cool stained-glass look. I hope you enjoy seeing how I create this beautiful card and try the technique on your next project.


I hope you are inspired today as you see all the Christmas Projects from everyone while jumping from video to video. If you are inspired to make a project from something you see today please share it with us, we would love to see what you come up with. You can tag me @creativechelsey in any social media post. 


See my Customer Appreciation Products for this month: http://creativechelsey.blogspot.com/p/shop-stampin-up-products.html

Follow me on Instagram https://www.instagram.com/creativechelsey

Or join my Facebook group https://www.facebook.com/groups/2221750878097906

To purchase any of the products you need to create this project visit

https://www.stampinup.com?demoid=2042902


Product List

BEAUTIFUL BUTTERFLIES BUNDLE - Coming January 7, 2025


Measurements:

Thick Basic White Cardbase – 5 ½” x 8 ½” scored at 4 ¼”

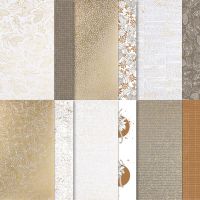
Natures Sweetness Designer Series Paper – 4” x 5 ¼” | 1” x 5”

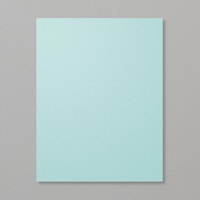
Pool Party Cardstock – 3 ¾” x 5”

Fluid 100 Watercolor Paper – 3 ½” x 5”

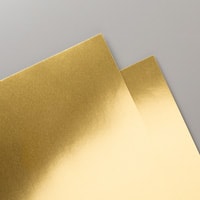
Gold Foil Paper – scraps for greeting


1- Add the White & Gold Grid Pattern (4” x 5 ¼”) from the Nature’s Sweetness DSP to the front of the cardbase at an angle.

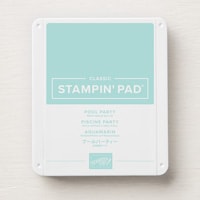
2- Stamp some Small Butterflies to the Pool Party Cardstock in Pool Party ink.


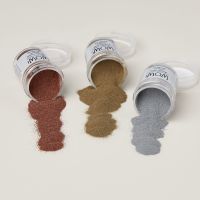
3- Add Embossing Buddy to the top of the Pool Party Cardstock, then flick water over the whole paper. Quickly add Gold Embossing Powder and tap off the excess. Heat until shiny from underneath the cardstock.


4- Tear off the right side of the Pool Party Cardstock. Add behind the 1” x 5” Gold Leaf Pattern from the Nature’s Sweetness DSP. Add this to the front of the cardbase at an angle.


Stained-Glass Technique:

5- Place the matching die into the Beautiful Butterflies Embossing Folder to emboss and cut the Fluid 100 Watercolor Paper.


6- Add a little Embossing Buddy to the top of the Embossed Butterfly, then ink up the Brayer with VersaMark ink and roll it over the top of the butterfly. It will add ink to the raised areas.


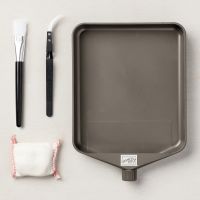
7- Add Gold Embossing Powder and tap off the excess. You may need to use a small paintbrush to remove any powder from areas you don’t want embossed. I removed it from the edges.


8- Heat until shiny.


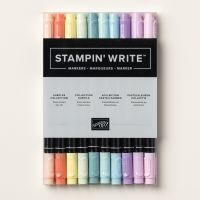
9- Add your choice of color to each section of the Butterfly Wings with a Stampin’ Write Marker. I used Calypso Coral, Petal Pink & Lemon Lolly.


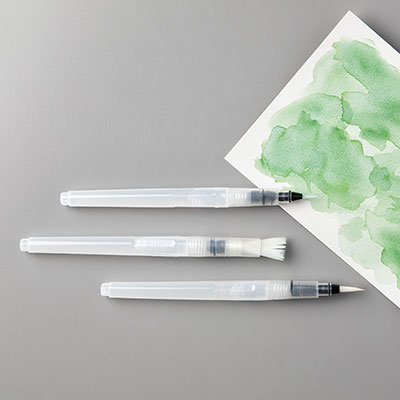
10- Spritz with water. The more water you use the more the colors will bleed into each other. If you use less the color will mostly stay inside it’s space. Let dry. You can use a Heat Tool on LOW to speed up the drying time.


11- Add the Large Butterfly to the bottom right area of the card with dimensionals under the wings and glue under the body.


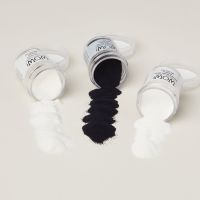
12- Add Embossing Buddy to some Golf Foil Paper. Stamp your greeting in VersaMark and apply White Embossing Powder. Tap off the excess and heat until shiny. Trim down and add to the top left corner with dimensionals.

All Done!


If you would like to watch me create this card with step-by-step tips and directions, please watch this video:


 If you need any product to make these cards, please visit my online store: http://www.stampinup.com?demoid=2042902


Have a creative day,

Chelsey

chelsey@creativechelsey.com