It is time for another tutorial for the Global Stampin’ Video Hop on YouTube. Each month on the fourth Friday Stampin’ Up Demonstrators from around the world come together and share their projects based on a monthly theme. November’s Theme is CHRISTMAS. I am so excited to see what everyone creates this month, make sure to watch my video below and then jump around and see them all.
A couple weeks ago we had a 3-day snow storm which created the most beautiful winter scene. All the trees were covered in a blanket of white snow and had a soft glow every evening. I was inspired by the beauty and wanted to create a Christmas Card that captured the feeling.
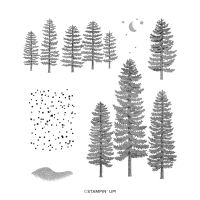
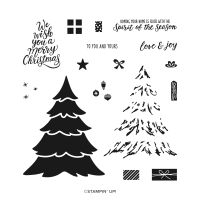
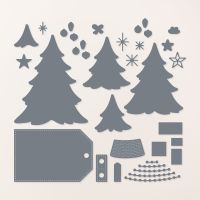
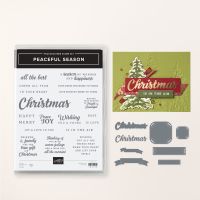
I combined three different Stamp & Die Bundles to create my card. They are the Peaceful Season Bundle for the Greetings, Forever Forest Bundle for the Trees, & Merriest Trees Bundle for the Gifts. I love how fun it is to combine different sets together!
I also used a lot of different techniques to create this card, you can find the step-by-step instructions below. Some of the techniques are: Emboss Resist, Water Lifting, Dimensionals Die Cutting, Creating a Die Cut Template for Small Images.
I hope you are inspired today as you see all the Christmas Projects from everyone while jumping from video to video. If you are inspired to make a project from something you see today please share it with us, we would love to see what you come up with. You can tag me @creativechelsey in any social media post.
See my Customer Appreciation Products for this month: http://creativechelsey.blogspot.com/p/shop-stampin-up-products.html
Follow me on Instagram https://www.instagram.com/creativechelsey
Or join my Facebook group https://www.facebook.com/groups/2221750878097906
To purchase any of the products you need to create this project visit
https://www.stampinup.com?demoid=2042902
———————— My Favorite Supplies ————————
• Foam Adhesive Sheets [152815] $8.25 —— https://bit.ly/49eQBwZ
• Stampin' Seal+ [149699] $12.00 —— https://bit.ly/3Ibz8YK
• Multipurpose Liquid Glue [110755] $4.00 —— https://bit.ly/3IaGF9S
• Tear & Tape Adhesive [138995] $7.00 —— https://bit.ly/3ajQSo5
• Stampin' Dimensionals [104430] $4.25 —— https://bit.ly/3IbzezA
• Mini Glue Dots [103683] $5.25 —— https://bit.ly/3anAcw3
• Stampin' Pierce Mat [126199] $5.00 —— https://bit.ly/3IjEq4d
• Simply Shammy [147042] $8.50 —— https://bit.ly/3bQH7hE
• Paper Snips [103579] $11.00 —— https://bit.ly/3ulT6tV
• Take Your Pick [144107] $10.00 —— https://bit.ly/3IeYxR9
• Bone Folder [102300] $7.00 —— https://bit.ly/3uhErzZ
• Clear Block D [118485] $9.00 —— https://bit.ly/3uuabSs
• Paper Trimmer [152392] $25.00 —— https://bit.ly/3abvykH
• Stampin' Cut & Emboss Machine [149653] $125.00 —— https://bit.ly/3ujz8zU
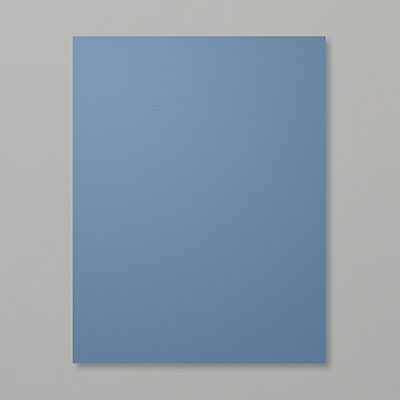
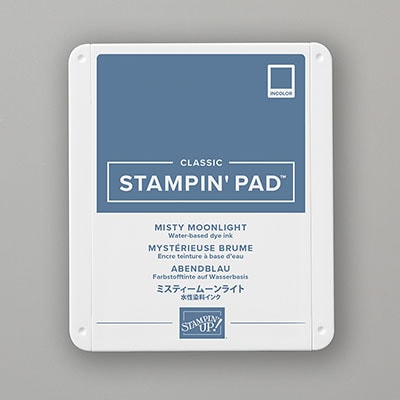
Misty Moonlight Cardbase – 5 ½” x 8 ½” scored at 4 ¼”
Basic White Cardstock – (2) 4” x 5 ¼” & scraps for
stamping & die cuts
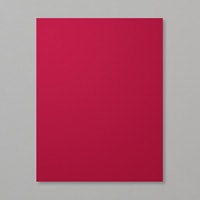
Cherry Cobbler Cardstock – scraps for stamping & die
cuts
Silver Foil – scrap for die cut tree
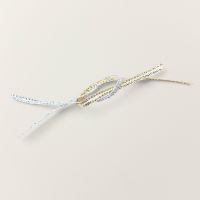
Silver Ribbon – 12”
Emboss Resist Technique:
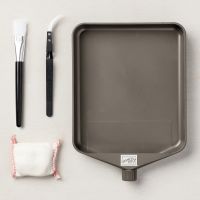
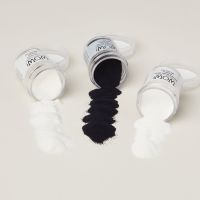
1- Heat Emboss on one of the Basic White pieces stamp the
group of three trees across the cardstock. Begin by adding Embossing Powder to
the cardstock, stamp in VersaMark, apply White Embossing Powder, remove excess,
and heat until set.
2- With a Blending Brush add Balmy Blue ink to the center,
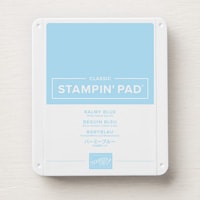
then add Misty Moonlight ink to the sides and a little at the top & bottom.
This will create a glowing look. Make sure to remove the excess ink on top of
the embossed trees with a paper towel.
Water Lifting Technique:
3- With a little water splatter over the blend, let the
water sit for a moment and then blot with a paper towel to pick up the water
& ink. This will create a splatter effect. Add everything to the front of
the Misty Moonlight Cardbase.
4- Cut out a Large Single Tree from the Forever Forest Dies in Silver Foil. Add to the left of center with dimensionals. I cut a strip from Adhesive Sheet and placed it down the middle of the tree.
Creating a Die Cut Template for Small Images
5- Add all the Small Presents from the Merriest Trees Set
to one side of a Clear Block, make sure to leave enough space between the
stamps for the dies to sit next to each other. I also add the Bows to the other
side of the same clear block.
6- Ink and stamp both the presents & bows on Basic
White Cardstock scraps in 3 coordinating colors. I used: Misty Moonlight,
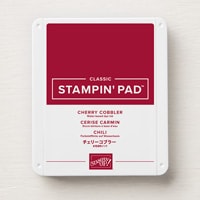
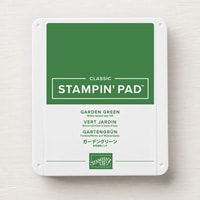
Cherry Cobbler & Garden Green.
7- Lay ALL the coordinating dies over the matching stamped image. Hold in place with tape. Cut out all images at one time. Remove the loose images, but not the dies – This is your die cutting template that you can use over and over as long as you don’t move the stamps on the clear block. Repeat with all the colors & bows.
8- Add the presents & bows to the bas of the Silver Tree with glue dots & dimensionals.
Dimensionals Die Cutting:
9- Add Adhesive Sheet to the back of a scrap of Cherry
Cobbler Cardstock. Die Cut “Christmas”. You may want to add a thin shim to make
sure the die cut goes through all the layers. Also cut out the “Back Christmas
Piece” in Basic White Cardstock, no adhesive sheet.
10- Remove only the paper backing and any pieces that are
not part of the “Christmas” die cut. Like the inside of the “a”. Try to keep “Christmas”
inside the die. It will help keep the shape as you add it to the backing.
11- Remove the White Back Piece from the Die and carefully
add the Cherry Cobbler Christmas, still in the die, to the center. Then remove
the die.
If your Christmas doesn’t stay inside the die, you can carefully add it to the center, you will want to start on one side and slowly adjust the shape to fit.
12- Heat Emboss “Is In The Air” with White Embossing Powder on Cherry Cobbler Cardstock. See this blog post for getting good heat emboss results every time: https://creativechelsey.blogspot.com/2024/11/basic-paper-crafting-techniques-heat.html
Trim around the greeting and add above the presents with a dimensional on the right and glue dot on the left over the tree.
Add "Christmas" above “Is In The Air” with dimensionals on
the sides and glue dot in the middle where it will go over the tree.
13- Create a faux bow with 12” of Silver Ribbon and tuck it under the “s”.
14- If you want to add a design to the inside, you can do a little blending on the bottom of the other 4” x 5 ¼” Basic White piece with the Misty Moonlight & Balmy Blue ink & Blending Brush. Then stamp a small tree in Garden Green and another greeting in Cherry Cobbler in the bottom left corner.
All Done!
If you would like to watch me create this card with step-by-step tips and directions, please watch this video: https://youtu.be/DEW_FojprXg
If you need any product to make these cards, please visit
my online store: http://www.stampinup.com?demoid=2042902
Have a creative day,
Chelsey
chelsey@creativechelsey.com










.jpg)

No comments:
Post a Comment