Friday, December 20, 2024

#TGIFC504 Card Making Techniques - My Paper Christmas Cookie Recipe - You Can Use On Any Craft Project


Are you ready for another TGIF Challenge. This week is a theme challenge – CHRISTMAS COOKIES!

Who doesn’t love a plate of Christmas Cookies delivered right to your door? With these cute Paper Cookies you can send cookies to everyone you love. In today’s recipe – LOL, I want to share with you two fun techniques you can do to create your own Christmas Cookies These cookies can be add to any paper crafting project, think tags, scrapbook pages, and of course cards. I just love how they turned out and hope you do too.

Don’t miss out on being inspired by the other designers – head over to TGIF Challenges Blog - https://tgifchallenges.blogspot.com/2024/12/tgifc504-inspiration-challenge.html


This was such a fun card to create. I hope you play along with this week’s TGIF Challenge and share your creation on the blog. To participate upload it to the TGIF blog post using the Linky Tool, details can be found at the bottom of the TGIF post.


Product List


———————— My Favorite Supplies ————————

• Stampin' Seal+ [149699] $12.00 —— https://bit.ly/3Ibz8YK

• Multipurpose Liquid Glue [110755] $4.00 —— https://bit.ly/3IaGF9S

• Tear & Tape Adhesive [138995] $7.00 —— https://bit.ly/3ajQSo5

• Stampin' Dimensionals [104430] $4.25 —— https://bit.ly/3IbzezA

• Mini Glue Dots [103683] $5.25 —— https://bit.ly/3anAcw3

• Stampin' Pierce Mat [126199] $5.00 —— https://bit.ly/3IjEq4d

• Simply Shammy [147042] $8.50 —— https://bit.ly/3bQH7hE

• Paper Snips [103579] $11.00 —— https://bit.ly/3ulT6tV

• Take Your Pick [144107] $10.00 —— https://bit.ly/3IeYxR9

• Bone Folder [102300] $7.00 —— https://bit.ly/3uhErzZ

• Clear Block D [118485] $9.00 —— https://bit.ly/3uuabSs

• Paper Trimmer [152392] $25.00 —— https://bit.ly/3abvykH

• Stampin' Cut & Emboss Machine [149653] $125.00 —— https://bit.ly/3ujz8zU

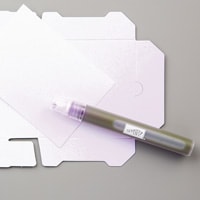
• White Gel Pen - (this is my favorite from amazon) https://amzn.to/3Rp9LrZ

   (As an Amazon Associate, I earn from qualifying purchases) 


Basic Beige Cardbase – 5 ½” x 8 ½” scored at 4 ¼”

Real Red Cardstock – 4” x 4 ½”

Crumb Cake Cardstock – 4” x 4 ¼”

Pecan Pie Cardstock – scraps for stamping & 2” Circle

Garden Green Cardstock – scraps for greeting & 7/8” x 3 ¼” Cookies Strip

Basic White Cardstock – scraps for Die Cut Cookies

Real Red Stripe Pattern (A Little Bit Festive DSP) – ¾” x 4”

Cookie Die Cut (A Little Bit Festive DSP)

10” Silver Ribbon


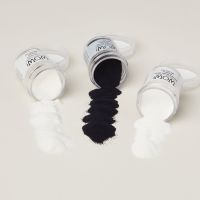
1- Find a Stamp Set that can create a frosting effect, look for a solid holiday themed image. I used the tree from Merriest Trees Stamp Set. Stamp & Heat Emboss in White Embossing Powder on Pecan Pie Cardstock to look like frosting. If you would like help heat embossing please refer to this blog post - https://creativechelsey.blogspot.com/2024/11/basic-paper-crafting-techniques-heat.html


2- Fussy cut out or use a coordinating die. I chose to fussy cut so I could get a rounder shape making it look more like a cookie. For the Circle Cookie I cut out a 2” Circle from Pecan Pie Cardstock.

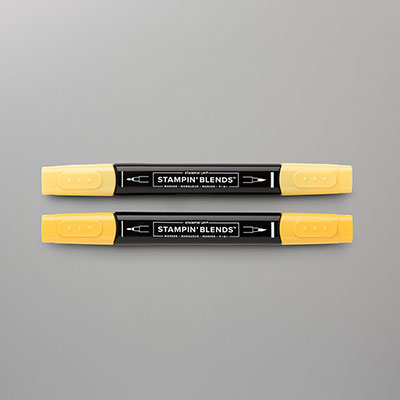
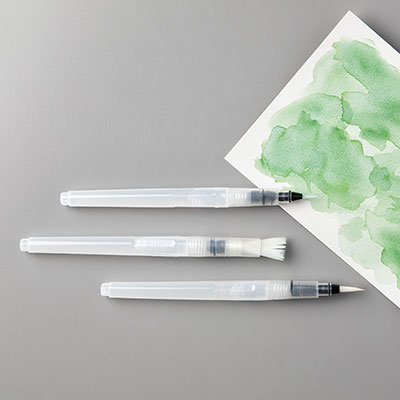
3- Add “browned edges” to your cookie with a Small Blending Brush and Pecan Pie Ink. If any ink gets on the White Frosting you can remove it with a damp paper towel.


4- Add Sprinkles with the Pearlized Enamel Effects. I used the Real Red color and added dots to my trees.

For the Circle I first drew a snowflake design with a White Gel Pen and then went over it with the White Pearlized Enamel Effects and then added a couple Red Dots. Let dry completely!


5- Add the Real Red Cardstock at an angle to the center of the cardbase. Splatter Garden Green ink on the Crumb Cake piece, then stamp the small stars from the Merriest Trees Set in Garden Green ink randomly. Place the Red & White Striped DSP strip in the center. Add this over the Real Red piece at an opposing angle.


6- Add the Cookies to the center of the card with dimensionals. I place the Tree on the left and the Circle above the Red & White Striped Strip.


7- Cut out COOKIES from Basic White Cardstock with Adhesive Sheet on the back using the Mini Alphabet Dies. Add the letters to a Silicone Craft Sheet, then pick up the whole word with some Masking Paper. Then you can place it perfectly on the Strip of Garden Green Cardstock. See video below for step-by-step details on this great tip. Add this over the Tree just below the Red & White Striped piece.


8- Stamp your greeting in VersaMark and Heat Emboss in White, twice. Then cut out the parts you want to use for your card. I like to have two just incase I have to cut too close to some words. I used “Thinking of you with warm feelings and a wish for all the merriest” from the Peaceful Season Stamp Set. I used all the words except feelings – replaced it with COOKIES. Place the words around COOKIES with dimensionals.


9- Tie a faux bow with 10” of Silver Ribbon and slide under the bottom right corner of the tree. Add a Die Cut Cookie from the A Little Bit Festive Pack in the bottom left corner.

All Done!


To purchase any Stampin’ Up! products please visit

https://www.stampinup.com?demoid=2042902

Have a creative day!

Chelsey

chelsey@creativechelsey.com


Friday, December 13, 2024

Create A Stencil From Leftover Pieces in the November 2024 Paper Pumpkin Kit - Stampin' Up!

Welcome to Paper Pumpkin Week here on Creative Chelsey. Over the last week I have shared some great card ideas you can make with from the November 2024 Paper Pumpkin Kit called Filled With Joy.


Today I am sharing with you my fifth and last alternative card idea. The projects from this kit creates a total of 8 Cut Stockings and tags that you can gift to family and friends. If you would like to watch me unbox the kit and create these cards or see any of my other alternative projects, click on the playlist in the top right corner.


The project this month are cute Stockings with Tags that you can fill and give away to friends and family. I love the retro designs and colors in the kit. If you would like to watch me unbox the kit and create these cards click on the playlist click on this link -
https://www.youtube.com/playlist?list=PL40dV1oxpkNm7mGU8P-yloiVvTU-OKpg0

If you are not into making the stockings this month and would like some card ideas instead you are in the right place.


All week long I have share fun ways you can cut up the stocking to use as accents on beautiful cards. Today I would like to share with you a great technique to get more from the leftover or trash pieces from your kit by turning them into a stencil. You do not want to miss this great tip & all the fun we will have decorating the ornaments on this card.

Each month I take the contents from the paper pumpkin kits and make alternative projects. My cards are easy to follow and can be made by both experienced or new paper crafter. You may need just a couple other products to complete them. You can follow along with me using supplies you already have or purchase any products you see me use from my online store. A full supply list is below or on my blog – www.creativechelsey.com


I also want to mention the amazing perks you can receive when you subscribe to Paper Pumpkin with me as your demonstrator. With every Paper Pumpkin Stamp Set & Ink Spot sent, I design a card and mail out my very own card kit to my subscribers so they can make two of my exclusive card design. These cards so fun and show new ways to use stamps & ink. We also meet once each month to make the card together, chat & have fun. *PLUS I have joined with other Stampin’ Up! Demonstrators to design 8-10 more alternative ideas in a PDF Tutorial (includes photos & instructions). My subscribers receive this PDF Tutorial along with an Exclusively Designed Card Kit, all for FREE! If you would also like to receive this extra perk, sign up for paper pumpkin using the link below and make sure to select me as your demonstrator.


If you are interested in getting your own paper pumpkin subscription, please use this link to subscribe - 
https://www.paperpumpkin.com/en-us/sign-up/?demoid=2042902

If this project inspires you to create something, I would love for you to tag me in any social media post using @creativechelsey | #creativechelsey or email me at chelsey@creativechelsey.com.


It is Paper Pumpkin Week here on Creative Chelsey. This is my last alternative card idea. If you would like to see all my alternatives this month check out the playlist here: https://www.youtube.com/playlist?list=PL40dV1oxpkNm7mGU8P-yloiVvTU-OKpg0


Don't miss out on next month’s Paper Pumpkin Kit - subscribe today!
SUBSCRIBE to Paper Pumpkin - click here –
https://www.paperpumpkin.com/en-us/sign-up/?demoid=2042902


Product List


See my Customer Appreciation Products for this month: http://creativechelsey.blogspot.com/p/shop-stampin-up-products.html

Follow me on Instagram https://www.instagram.com/creativechelsey

Or join my Facebook group https://www.facebook.com/groups/2221750878097906


To purchase any of the products you need to create this project visit https://www.stampinup.com?demoid=2042902


———————— My Favorite Supplies ————————

• Stampin' Seal+ [149699] $12.00 —— https://bit.ly/3Ibz8YK

• Multipurpose Liquid Glue [110755] $4.00 —— https://bit.ly/3IaGF9S

• Tear & Tape Adhesive [138995] $7.00 —— https://bit.ly/3ajQSo5

• Stampin' Dimensionals [104430] $4.25 —— https://bit.ly/3IbzezA

• Mini Glue Dots [103683] $5.25 —— https://bit.ly/3anAcw3

• Stampin' Pierce Mat [126199] $5.00 —— https://bit.ly/3IjEq4d

• Simply Shammy [147042] $8.50 —— https://bit.ly/3bQH7hE

• Paper Snips [103579] $11.00 —— https://bit.ly/3ulT6tV

• Take Your Pick [144107] $10.00 —— https://bit.ly/3IeYxR9

• Bone Folder [102300] $7.00 —— https://bit.ly/3uhErzZ

• Clear Block D [118485] $9.00 —— https://bit.ly/3uuabSs

• Paper Trimmer [152392] $25.00 —— https://bit.ly/3abvykH

• Stampin' Cut & Emboss Machine [149653] $125.00 —— https://bit.ly/3ujz8zU

Shaded Spruce Cardbase – 5 ½” x 8 ½” scored at 4 ¼”

Shaded Spruce Cardstock – 2 ½” x 2 ½”

Basic White / Basic Beige Cardstock – 4 ¼” x 5 ½”

Gold Foil with Adhesive Sheet on the back – scraps for die cutting

Fabric Stocking – kit –any leftover piece, I used the toe. Add Adhesive Sheet to the back.

Ornament Border Scrap – kit

White Gel Pen - (this is my favorite from amazon) https://amzn.to/3Rp9LrZ
   (As an Amazon Associate, I earn from qualifying purchases) 


1- Find 4 ornaments you can use as your stencil from the Ornament Border Scrap, one of each shape. Cut around each to separate them. Cut 1” strips from Masking Paper and cover the edges to create a larger border around each ornament stencil.


2- Choose your color for the background, on one card I used Basic Beige and for the other I used Basic White. Add one Ornament Stencil and use a Blending Brush to add your choice of ink color, add as much or less as you want. Keep the stencil in place.


3- Use the decorative horizontal stamps to add detail & color to the ornament. Have fun creating different patterns & designs. Leave some space for white details with a Gel Pen later.

4- Remove the stencil. If it is stuck to the cardstock use a Heat Tool to soften the adhesive, it will come right off.


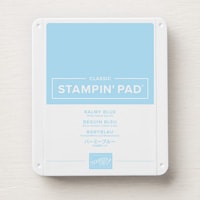
5- Repeat with the other Ornament Shapes and other coordinating colors. I used Poppy Parade, Shaded Spruce, Pool Party & Balmy Blue. Have fun!

6- Use a White Gel Pen to add any other details you want inside each ornament. Consider adding dots, circles, lines, starbursts, stars, etc.


7- Cut out the top of the Tag Die from the Merry Tags & More Coordinating Die Set from Gold Foil with Adhesive Sheet on the back. Trim the curved top a little on each side to look like a Gold Top for an Ornament. Remove the paper backing and add to the top of an ornament. Repeat for all Ornaments.

8- Trim a couple of the sides so the final size is 4” x 5 ¼”. Add this to the center of your cardbase.


9- Cut out a 2” square from Shaded Spruce, I used a die from the Perennial Postage set. Cut a smaller square from the leftover Fabric. Stamp your greeting in Poppy Parade in the center of the Fabric. Add it to the center of the Shaded Spruce piece.

10- With a White Gel Pen add a faux stitching along the edge. Tie a bow with 13” of White Baker’s Twine around the bottom. Add to the card with dimensionals.

 All Done!


I have also created a video walking you through each step.

To purchase any Stampin’ Up! products please visit

https://www.stampinup.com?demoid=2042902


Have a creative day!

Chelsey

chelsey@creativechelsey.com