This week we are having a fun Technique Challenge over on the TGIF Challenges Blog. The technique is Tear It Up and it is the 500th Challenge. Can you believer that this blog has had 500 challenges! If you haven’t had a chance to check it out, today is the day: https://tgifchallenges.blogspot.com
And while you are looking at all the great inspiration for this challenge, you should also give it a try and make your own “Tear It Up” Card or Paper Craft. Then, upload it to the TGIF blog post using the Linky Tool at the bottom. See the guidelines on the TGIF post.
I would love to see what you make!
For today’s card I wanted to try something different with the Tearing Technique and so I create a Unique Border for this Vignette of the cutest little Fawns. Check out the step-by-step instructions below and then try it on your next project.
Here are my Current Customer Appreciation Products: http://creativechelsey.blogspot.com/p/shop-stampin-up-products.html
You can also get inspired by following my socials:
Instagram https://www.instagram.com/creativechelsey
Facebook group https://www.facebook.com/groups/2221750878097906
Product List
———————— My Favorite Supplies ————————
• Stampin' Seal+ [149699] $12.00 —— https://bit.ly/3Ibz8YK
• Multipurpose Liquid Glue [110755] $4.00 —— https://bit.ly/3IaGF9S
• Tear & Tape Adhesive [138995] $7.00 —— https://bit.ly/3ajQSo5
• Stampin' Dimensionals [104430] $4.25 —— https://bit.ly/3IbzezA
• Mini Glue Dots [103683] $5.25 —— https://bit.ly/3anAcw3
• Stampin' Pierce Mat [126199] $5.00 —— https://bit.ly/3IjEq4d
• Simply Shammy [147042] $8.50 —— https://bit.ly/3bQH7hE
• Paper Snips [103579] $11.00 —— https://bit.ly/3ulT6tV
• Take Your Pick [144107] $10.00 —— https://bit.ly/3IeYxR9
• Bone Folder [102300] $7.00 —— https://bit.ly/3uhErzZ
• Clear Block D [118485] $9.00 —— https://bit.ly/3uuabSs
• Paper Trimmer [152392] $25.00 —— https://bit.ly/3abvykH
• Stampin' Cut & Emboss Machine [149653] $125.00 —— https://bit.ly/3ujz8zU
Basic Beige Cardbase – 5 ½” x 8 ½” scored at 4 ¼”
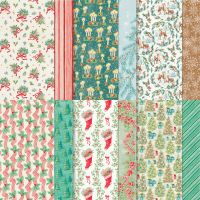
Sentimental Christmas DSP – 4” x 4” Green Stipes , `1 ½” x 4”
Red Stripes
Deer, Branches
& Birds – rough cut around to remove from larger paper.
Poppy Parade Cardstock – scraps for greeting
Ribbon – 4 ¼” pieces
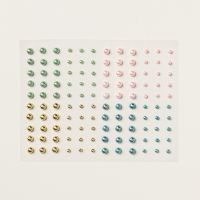
Blooming Pearls – 3 Gold
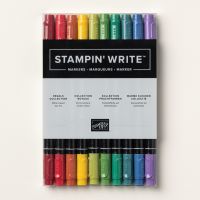
1- Using a 2 ½ or 2 ¾” Circle Die or Punch, cut out the center of the 4” x 4” Green Stripe Pattern piece. On the back use a Shaded Spruce Stampin’ Write Marker (not a Blend – it will bleed to the front of the paper) to color around the circular opening about ½” in. This will remove the pattern on the back of the paper so you don’t see it when you roll/tear the paper on the front.
2- Roughly cut around one of the Deer Scenes from the Larger Pattern Paper and adhere it behind the Green Stripe pattern piece. Make sure you don't see any of the Deer Pattern along the outside of the Green Square piece, if so trim it off.
Add this to the top of the Cardbase. Add the Poppy Parade Stripe piece to the bottom. There should be a 1/8” border around the card.
3- Roll the Circle edge back exposing more of the Deer Scene, you should now see the Shaded Spruce color instead of the pattern on the back of the Green Stripe paper. Repeat all the way around the circle.
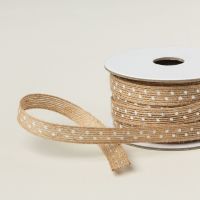
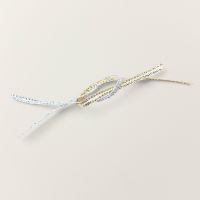
4- Add 4 ¼” Natural Polka Dot Trim to the seam between the two patterns with Tear & Tape, with the Polka Dots face down and the solid side showing. Add the Gold Ribbon from the Gold & Silver Trim Pack in the center of the Natural Trim with glue dots.
5- Fussy cut around a couple branches from the same pattern as the Deer Scene. Add these in the bottom right area of the circle with dimensionals.
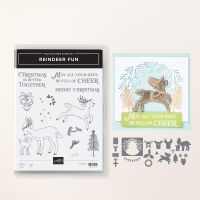
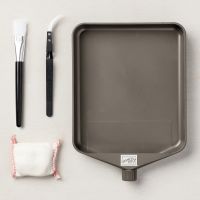
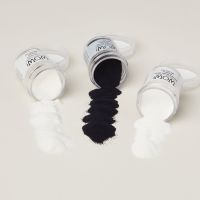
6- Heat Emboss your greeting in White and trim around. Add
it over the fussy cut branches with dimensionals. I used Merry Christmas from
the Reindeer Fun Bundle.
If you need assistance with Heat Embossing check out this
blog post - https://creativechelsey.blogspot.com/2024/11/basic-paper-crafting-techniques-heat.html
7- Add 3-5 Gold Pearls from the Blooming Pearls Pack.
All Done!
To purchase any Stampin’ Up! products please visit
https://www.stampinup.com?demoid=2042902
If you would like to watch me put this card together your can check out my YouTube video - Don't forget to subscribe so you know when I post a new tutorial.
Have a creative day!
Chelsey

.jpg)







No comments:
Post a Comment