Today I would like to share with you some great tips when Heat Embossing.
I follow these steps every single time I heat emboss and find that they give me perfect results every time. If you are nervous about trying Heat Embossing then follow these simple steps below and I promise you will get great results.
If you have any issues, you can email me and I would be happy to help - chelsey@creativechelsey.com
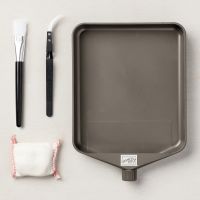
1- You need the right tools, I recommend:
Product List
2- Add Embossing Buddy to the top of your cardstock
3- Stamp your Image in VersaMark Ink
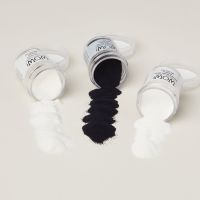
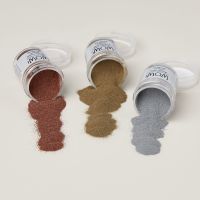
4- Pour the Embossing Powder over the stamped image & tap off the excess.
If needed use a Small Brush to remove any Powder that has stuck to the Cardstock.
I like to do this over a Clear Drawer so I don't have to put the Embossing Powder back into the small container. I keep it loose in the drawer and have multiples stacked together. One for each color of Embossing Powder. They are easy to pull out & put back.
Here are the trays I use for my Embossing Powders: https://amzn.to/47Cu0JE
I have the four drawer style and have two - so a total of 8 drawers. They stack nicely on top of each other. As an Amazon Associate I earn from qualifying purchases.
5- Heat with the Heat Tool from under the cardstock.
I think this gives the embossed area a smooth top and you don't risk blowing away any of the powder before it is set.
I use Setting #2 on my Heat Tool. You can also warm up your Heat Tool before applying it to the cardstock.
Keep the Heat Tool moving, don't let it just sit under the cardstock, I could scorch the paper.
Once you see the Embossing Powder melt and get shiny, move to the next area.
Use Tweezers to hold the paper so you don't burn your finger, especially on small pieces of cardstock.
6- Let Cool, and wipe of the Embossing Buddy with a Microfiber or Knit Hand Towel.
This should bring the cardstock back to it's original color.
I hope these tips help you the next time you use Heat Embossing on your projects.
If you would like to watch me walk through each step, I have also made a video.
To purchase any of the products you need to create this project visit https://www.stampinup.com?demoid=2042902
Have a Creative Day,
Chelsey


No comments:
Post a Comment