It is time for another tutorial for the Global Stampin’ Video Hop on YouTube. Each month on the fourth Friday Stampin’ Up Demonstrators from around the world come together and share their projects based on a monthly theme. December’s Theme is THANKS. I am so excited to see what everyone creates this month, make sure to watch my video below and then jump around and see them all.
The card I am sharing today uses some new products that will be available with the January – April Mini Catalog. If you are interested in getting your own copy of this catalog, please click on the request form here: https://forms.gle/BKcuY1e5UPdXyVEP6
I love this beautiful butterfly bundle and all the fun things I am going to be able to do with it. The Die Set is amazing with a large die that can be used to cut a cardbase into a butterfly shape and also has a die that will fit inside the coordinating Embossing Folder. The Stamp Set includes beautiful images and greetings. I will definitely be using this bundle a lot this spring.
I am also sharing a fun technique that gives your images a cool stained-glass look. I hope you enjoy seeing how I create this beautiful card and try the technique on your next project.
I hope you are inspired today as you see all the Christmas Projects from everyone while jumping from video to video. If you are inspired to make a project from something you see today please share it with us, we would love to see what you come up with. You can tag me @creativechelsey in any social media post.
See my Customer Appreciation Products for this month: http://creativechelsey.blogspot.com/p/shop-stampin-up-products.html
Follow me on Instagram https://www.instagram.com/creativechelsey
Or join my Facebook group https://www.facebook.com/groups/2221750878097906
To purchase any of the products you need to create this
project visit
https://www.stampinup.com?demoid=2042902
Product List
Measurements:
Thick Basic White Cardbase – 5 ½” x 8 ½” scored at 4 ¼”
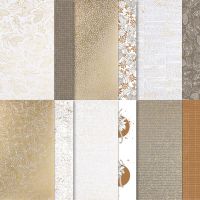
Natures Sweetness Designer Series Paper – 4” x 5 ¼” | 1”
x 5”
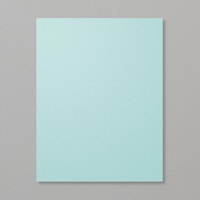
Pool Party Cardstock – 3 ¾” x 5”
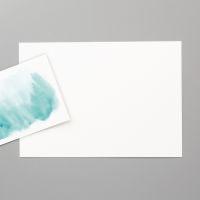
Fluid 100 Watercolor Paper – 3 ½” x 5”
Gold Foil Paper – scraps for greeting
1- Add the White & Gold Grid Pattern (4” x 5 ¼”) from
the Nature’s Sweetness DSP to the front of the cardbase at an angle.
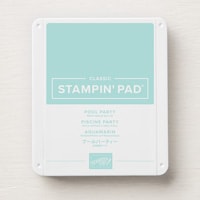
2- Stamp some Small Butterflies to the Pool Party Cardstock in Pool Party ink.
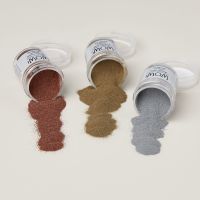
3- Add Embossing Buddy to the top of the Pool Party Cardstock, then flick water over the whole paper. Quickly add Gold Embossing Powder and tap off the excess. Heat until shiny from underneath the cardstock.
4- Tear off the right side of the Pool Party Cardstock. Add behind the 1” x 5” Gold Leaf Pattern from the Nature’s Sweetness DSP. Add this to the front of the cardbase at an angle.
Stained-Glass Technique:
5- Place the matching die into the Beautiful Butterflies
Embossing Folder to emboss and cut the Fluid 100 Watercolor Paper.
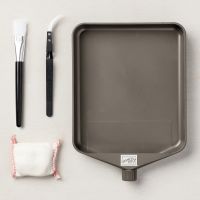
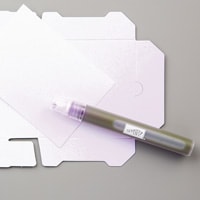
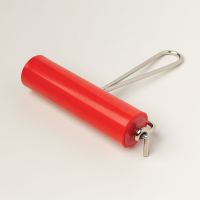
6- Add a little Embossing Buddy to the top of the Embossed Butterfly, then ink up the Brayer with VersaMark ink and roll it over the top of the butterfly. It will add ink to the raised areas.
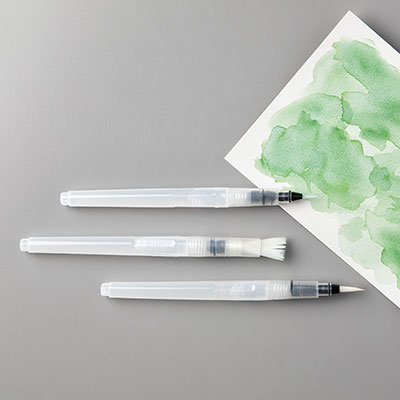
7- Add Gold Embossing Powder and tap off the excess. You may need to use a small paintbrush to remove any powder from areas you don’t want embossed. I removed it from the edges.
8- Heat until shiny.
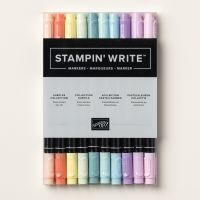
9- Add your choice of color to each section of the Butterfly Wings with a Stampin’ Write Marker. I used Calypso Coral, Petal Pink & Lemon Lolly.
10- Spritz with water. The more water you use the more the colors will bleed into each other. If you use less the color will mostly stay inside it’s space. Let dry. You can use a Heat Tool on LOW to speed up the drying time.
11- Add the Large Butterfly to the bottom right area of the card with dimensionals under the wings and glue under the body.
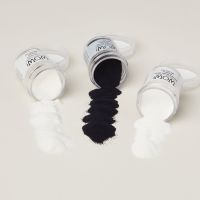
12- Add Embossing Buddy to some Golf Foil Paper. Stamp your greeting in VersaMark and apply White Embossing Powder. Tap off the excess and heat until shiny. Trim down and add to the top left corner with dimensionals.
All Done!
If you would like to watch me create this card with step-by-step tips and directions, please watch this video:
Have a creative day,
Chelsey
chelsey@creativechelsey.com








No comments:
Post a Comment