I am jumping back into the fun TGIF Challenges this month. Every week on Friday we post fun challenges to help spark your creativity. There are always a good variety of challenges from great sketches to, fun color combinations and unique themes. If you haven’t seen the blog make sure to jump over and check it out - https://tgifchallenges.blogspot.com/
I am a little late in sharing my card from the Sketch Challenge on Nov. 8:
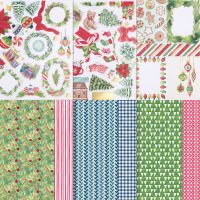
I loved the easy layout design and wanted to combine some easy elements like the trees or presents die cuts from the A Little Bit Festive Specialty Designer Series Paper with a fun technique, like the Hand Stitched Design between the two pattern pieces. I love how the hand stitching gives this card a WOW element.Don’t miss out on being inspired by the other designers – head over to TGIF Challenges Blog - https://tgifchallenges.blogspot.com/ to see the most current challenge.
Did you know that you can participate in the challenges each week? Create your own project inspired by the current weekly challenge. Upload it to the TGIF blog post using the Linky Tool at the bottom. See the guidelines on the TGIF post.
I would love to see what you make!
Product List
———————— My Favorite Supplies ————————
• Stampin' Seal+ [149699] $12.00 —— https://bit.ly/3Ibz8YK
• Multipurpose Liquid Glue [110755] $4.00 —— https://bit.ly/3IaGF9S
• Tear & Tape Adhesive [138995] $7.00 —— https://bit.ly/3ajQSo5
• Stampin' Dimensionals [104430] $4.25 —— https://bit.ly/3IbzezA
• Mini Glue Dots [103683] $5.25 —— https://bit.ly/3anAcw3
• Stampin' Pierce Mat [126199] $5.00 —— https://bit.ly/3IjEq4d
• Simply Shammy [147042] $8.50 —— https://bit.ly/3bQH7hE
• Paper Snips [103579] $11.00 —— https://bit.ly/3ulT6tV
• Take Your Pick [144107] $10.00 —— https://bit.ly/3IeYxR9
• Bone Folder [102300] $7.00 —— https://bit.ly/3uhErzZ
• Clear Block D [118485] $9.00 —— https://bit.ly/3uuabSs
• Paper Trimmer [152392] $25.00 —— https://bit.ly/3abvykH
• Stampin' Cut & Emboss Machine [149653] $125.00 —— https://bit.ly/3ujz8zU
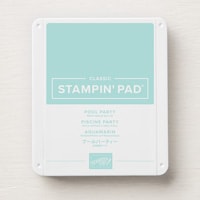
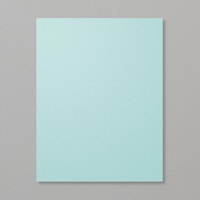
Pool Party Cardbase – 5 ½” x 8 ½” scored at 4 ¼”
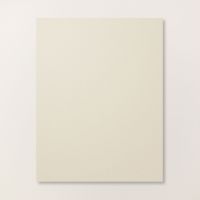
Basic Beige Cardstock – 4” x 5 ¼”
Basic White Cardstock – scraps for stamping
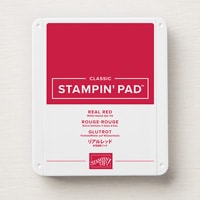
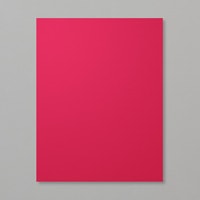
Real Red Cardstock – scraps for stamping
Pre Cut Images – A Little Bit Festive DSP
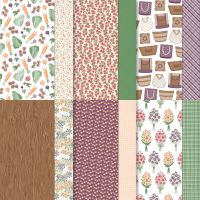
¾” x 5 ¼” Strips – Garden Green Plaid from To Market DSP
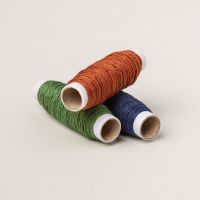
Linen Thread – Garden Green 26” & 22”
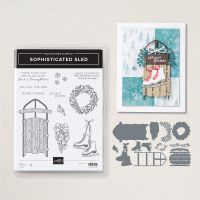
1- Randomly stamp some images on the Basic Beige 4” x 5 ¼” background piece. I stamped snowflakes from the Sophisticated Sled Set in Pool Party and then splattered some Pecan Pie ink.
2- Cut two strips of Pattern Paper that are ¾” x 5 ¼”. I used the Garden Green plaid pattern from the To Market DSP. I love how the patterns in this pack are so versatile. Add these to the bottom of the Basic Beige piece with about ¼” of space between them.
3- Measure and mark every ¼” across the top & bottom of the gap between the pattern paper. Punch a small hole with a hole punch at every ¼” mark.
4- Cut 26” of Linen Thread or Baker’s Twine. I used the Garden Green Linen Thread from the Natural Tones Linen Thread Pack. String it trough a needle and hand stitch “X” all the way across the gap. I spaced mine out, but you would make the closer if you want. Tape the ends to the back of the cardstock and add to the cardbase with dimensionals.
See the video below for more visual details.
5- Add your choice of Pre Die Cut pieces (ephemera) to either the left or right sides above the pattern strips with dimensionals at the top and glue at the bottom, this will keep the thickness of the card minimal.
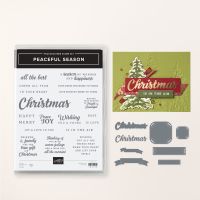
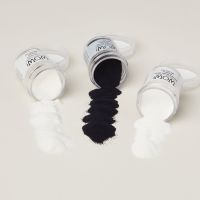
6- Stamp “Christmas” in Real Red ink on Basic White cardstock and cut out with coordinating die. You can also Heat Emboss the Real Red ink with Clear Embossing Powder to give it a shine.
Heat Emboss “Cheer All Year” in White Embossing Powder on Real Red Cardstock and cut out with the Banner Die from the Happy Little Things Dies.
If you need assistance with Heat Embossing including how to heat emboss with color ink, check out this blog post - https://creativechelsey.blogspot.com/2024/11/basic-paper-crafting-techniques-heat.html
7- Add the greetings between the Hand Stitched Details & Precut Image with dimensionals.
8- Create a double faux bow with 22” of Linen Thread and place under the greeting.
All Done!
To purchase any Stampin’ Up! products please visit
https://www.stampinup.com?demoid=2042902
I have also created a video showing step-by-step instructions and helpful little tips, check it out here:
Have a creative day!
Chelsey
chelsey@creativechelsey.com

.jpg)








No comments:
Post a Comment